If you’ve ever seen a music video script then you know they’re pretty straight forward. They give you all the information in a spreadsheet type of document, a.k.a. an AV script. This got me thinking about why the video part doesn’t show but rather tells what will be on screen. Why use words to describe a shot when you can use images instead? Today, I want to show you how to create a music video storyboard using StudioBinder’s shot lists & storyboards feature. With Leon Bridges’ “Beyond” as my example, follow along as I show you step-by-step how to turn a music video storyboard into a superior version of a traditional AV script.
Introducing Music Video Scripts
First, what’s a music video storyboard?
Before we jump into StudioBinder, let’s go over what exactly a music video storyboard is and what typically appears on one.
MUSIC VIDEO STORYBOARD DEFINITION
What is a music video storyboard?
A music video storyboard is a variation of a filmmaking storyboard, where visual representations of each shot are represented. In a traditional AV script, the video (what we seen on screen) is described on one side while the audio (what we hear), is described on the other. For a music video script, we might have song lyrics in the right column and corresponding image descriptions or storyboards in the left column.
Common details on a music video script:
- Time Code
- Audio Description
- Video Description
- Lyrics
- Narration
- Music
- FX
A music video storyboard functions in many ways like a traditional film storyboard. At the same time, there are particular considerations to a music video storyboard. Here's Brent from ShareGrid walking us through his process of creating a shot list for a music video.
How to Shot List a Music Video • Subscribe on YouTube
Alright, now that we’re clear on what a music video storyboard is, I mentioned I’m using Leon Bridges’ “Beyond” as my example. I’ll only be referencing the first 30 seconds or so of the video, but you can enjoy the entire thing before we get started.
Leon Bridges • “Beyond”
Alright, now that we're on the same wavelength, let’s get to it. We'll begin by looking at what a typical AV or music video script might have looked like for this particular video.
Now, I wasn’t a part of the production team that created this music video. So, the script you’re about to see is what I’ve created by tracking the time-codes and referencing the image on the screen. You can see what this text-only music video script looks like below.
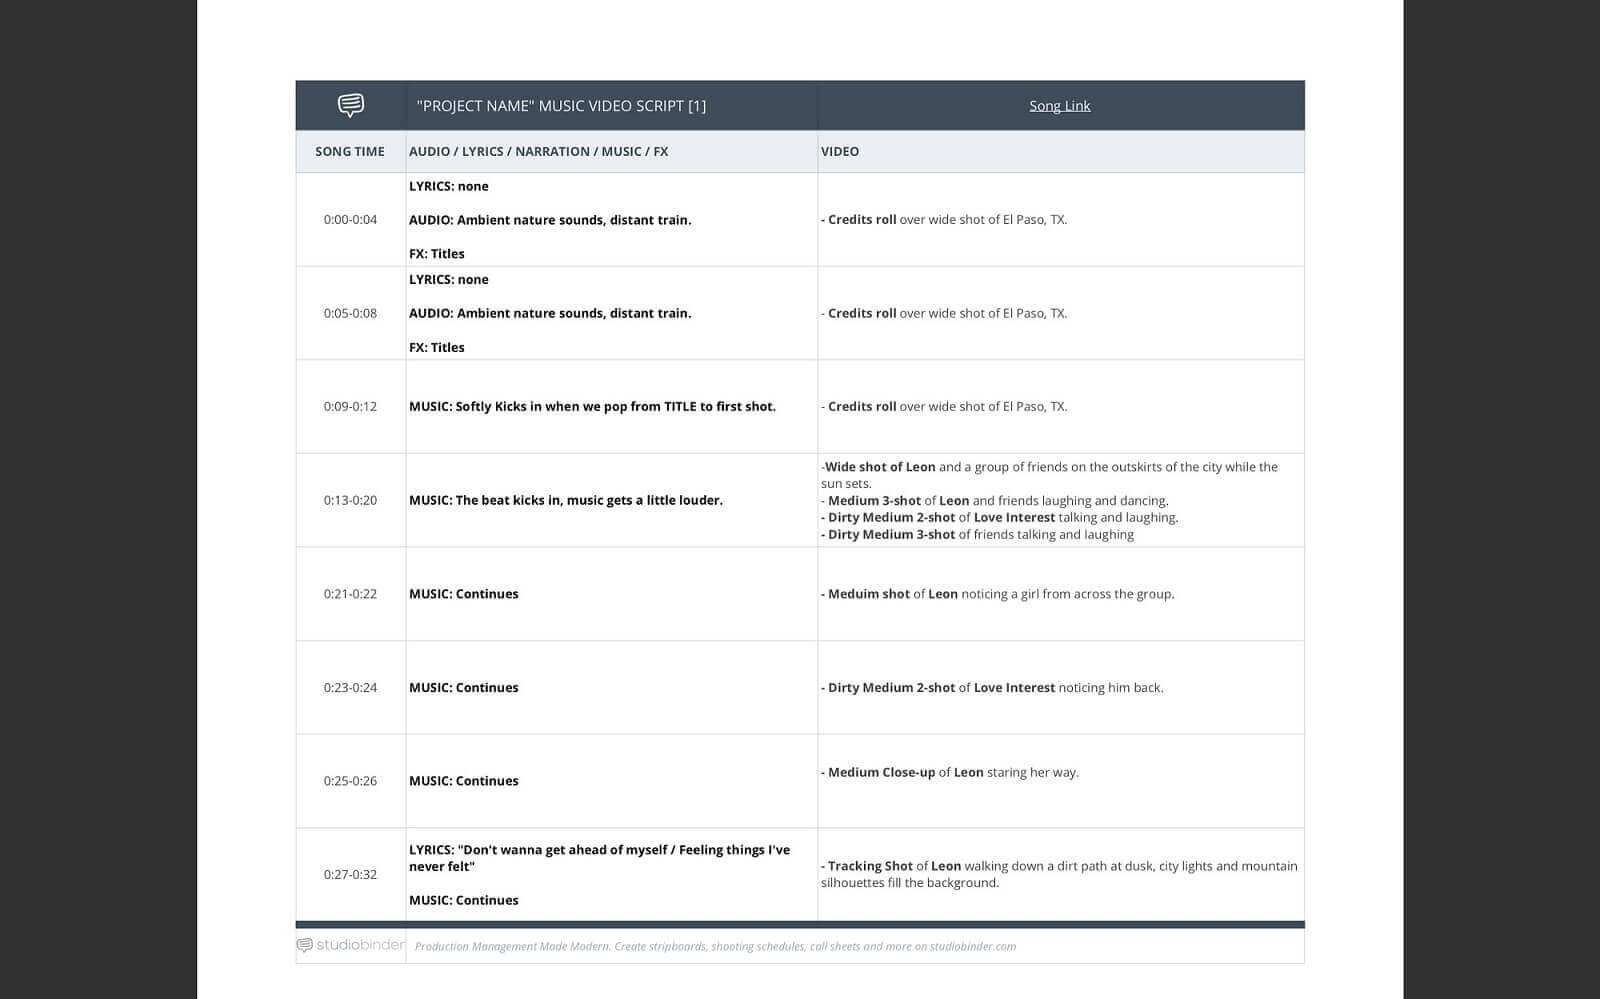
StudioBinder Music Video Script Template • Leon Bridges' "Beyond"
As you can see, there are multiple columns for the various types of information. People commonly use Excel for things like this, however, I used StudioBinder’s free music video script template.
When I look at this text-only music video script, I can imagine what would be on screen, but wouldn’t it be much better if there were an actual image supporting the text?
Just imagine you’re a director pitching your idea to an artist. If you have something like this to support your ideas, you’re that much more prepared and closer to landing the job.
Let’s jump into StudioBinder to see how the Shot Lists & Storyboards feature can take your text-only music video script and create a much more polished, dynamic and visual music video storyboard.
Shot Lists & Storyboards
Step 1: Create a new storyboard
StudioBinder was developed to read and understand the screenplay format, but that doesn’t mean it still can’t be useful for other types of projects. What we’ll be doing is essentially putting every piece of information that is on the music video script into the shot list & storyboards feature of StudioBinder.
To get there from the Project Overview page, click the shutter icon on the navigation sidebar.
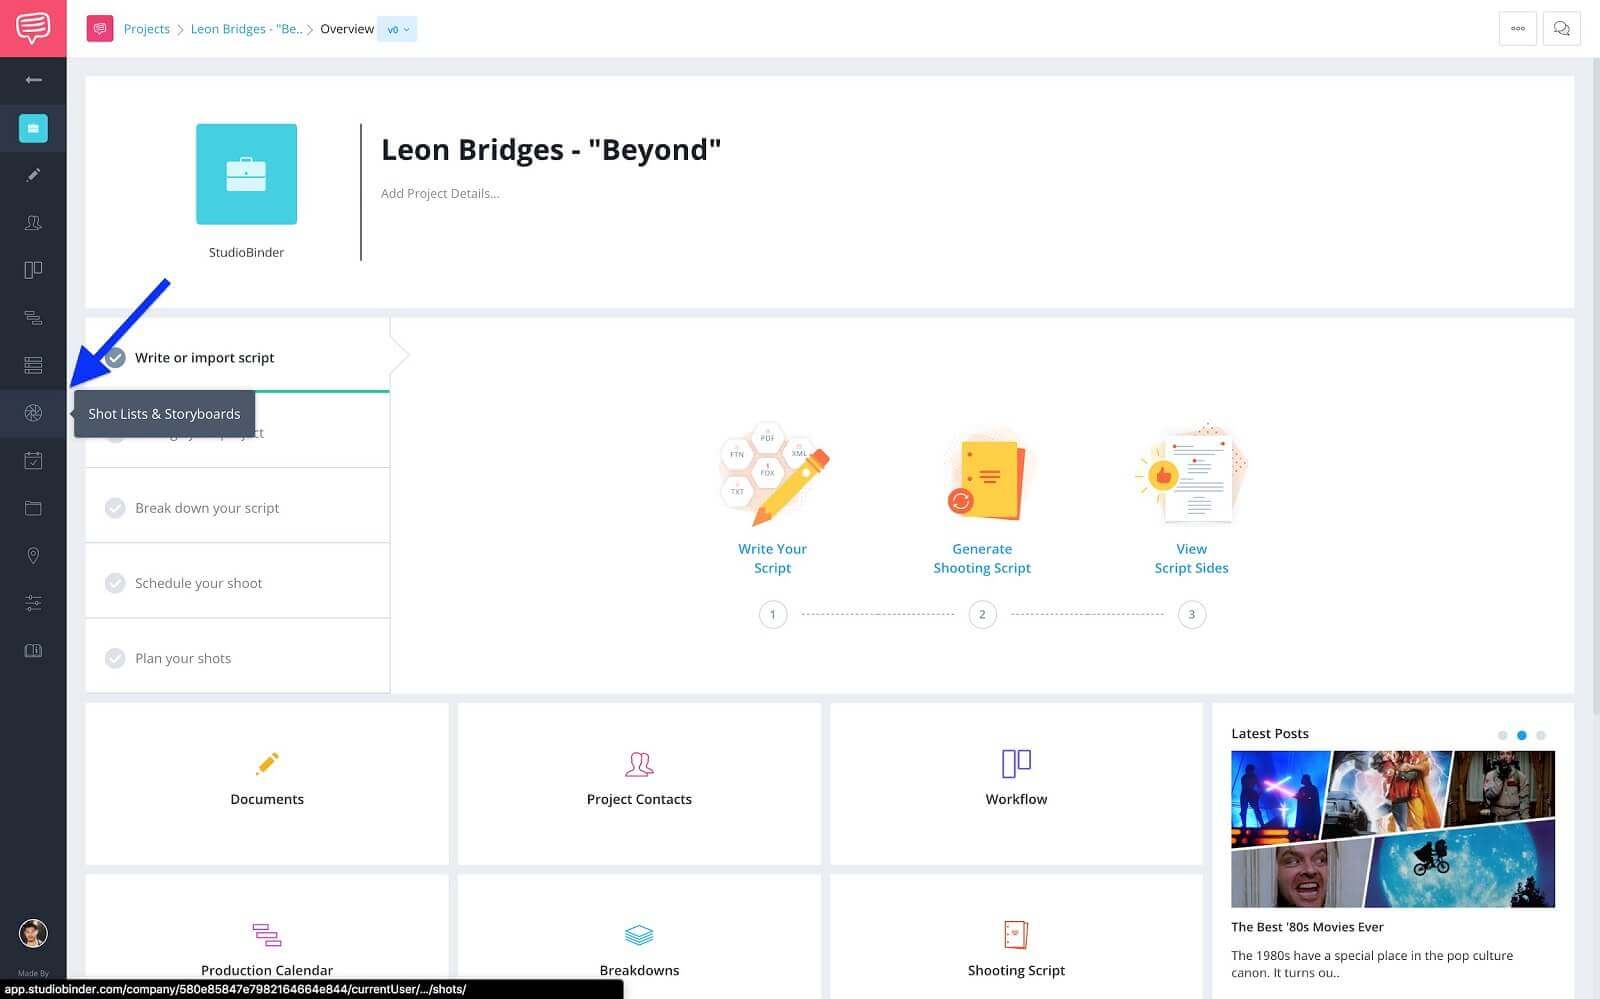
Project overview page • Shot lists & storyboards button
On the shot lists & storyboards page you’re presented with a couple options. To add a new shot list or to import a script. Since we’re not working with a screenplay we’ll choose + New Shot List...
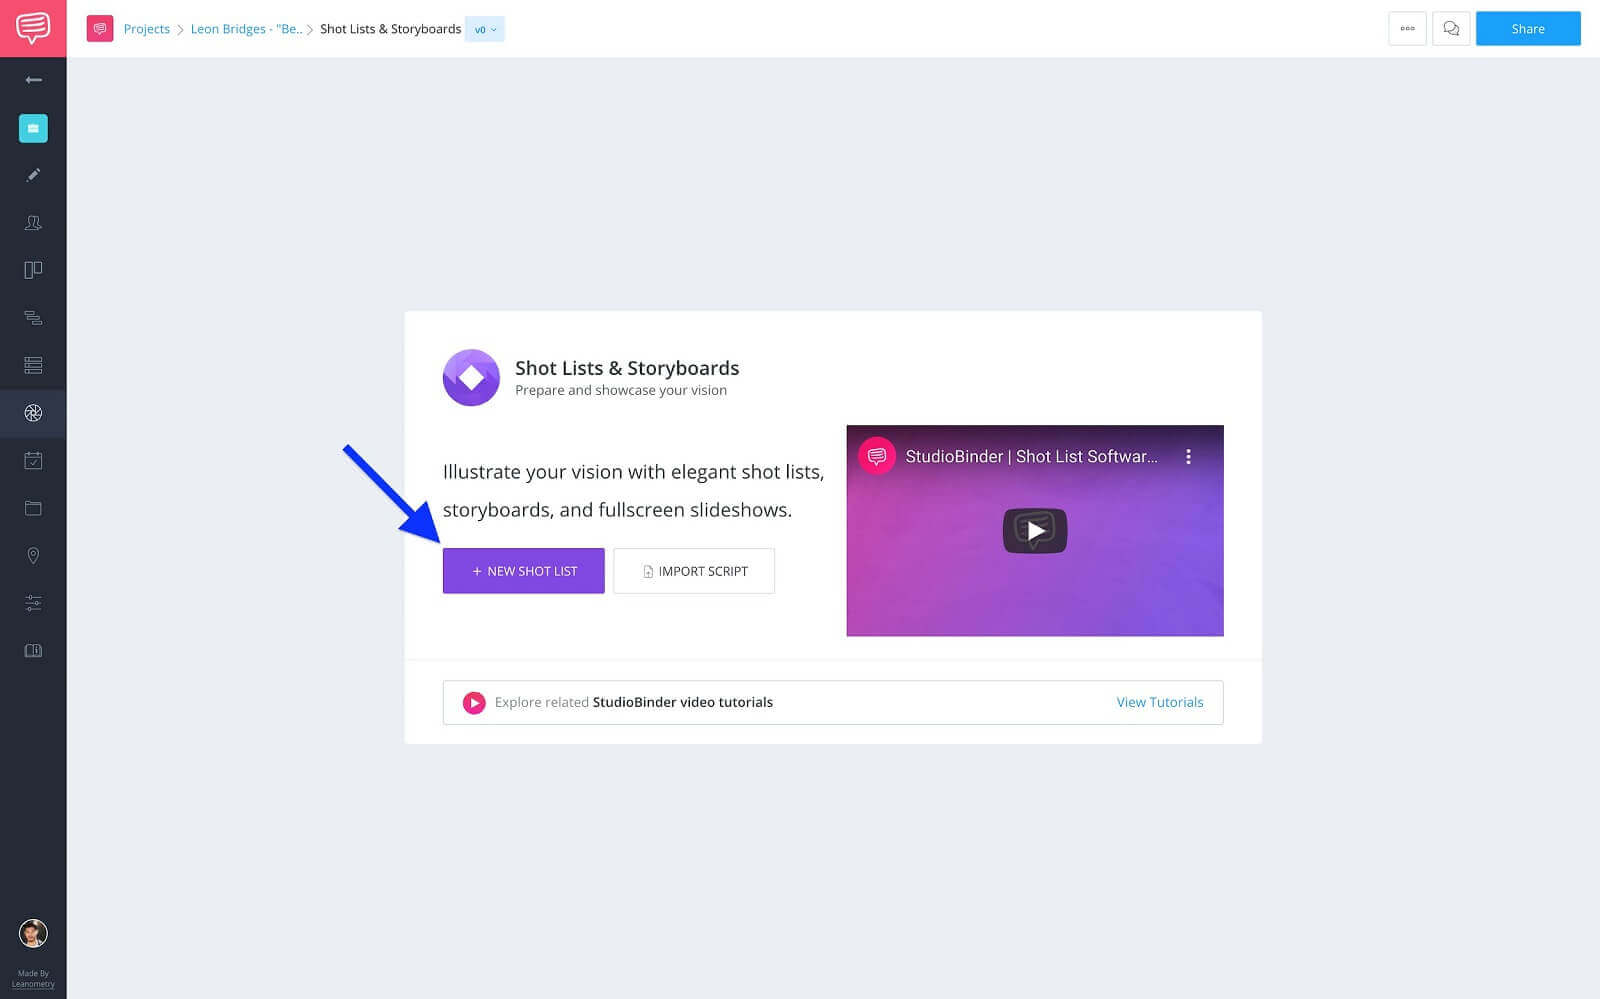
Shot lists & storyboards page • Click +New Shot List
...then, give it a name. I’m going to name mine Beyond - Music Video and click next.
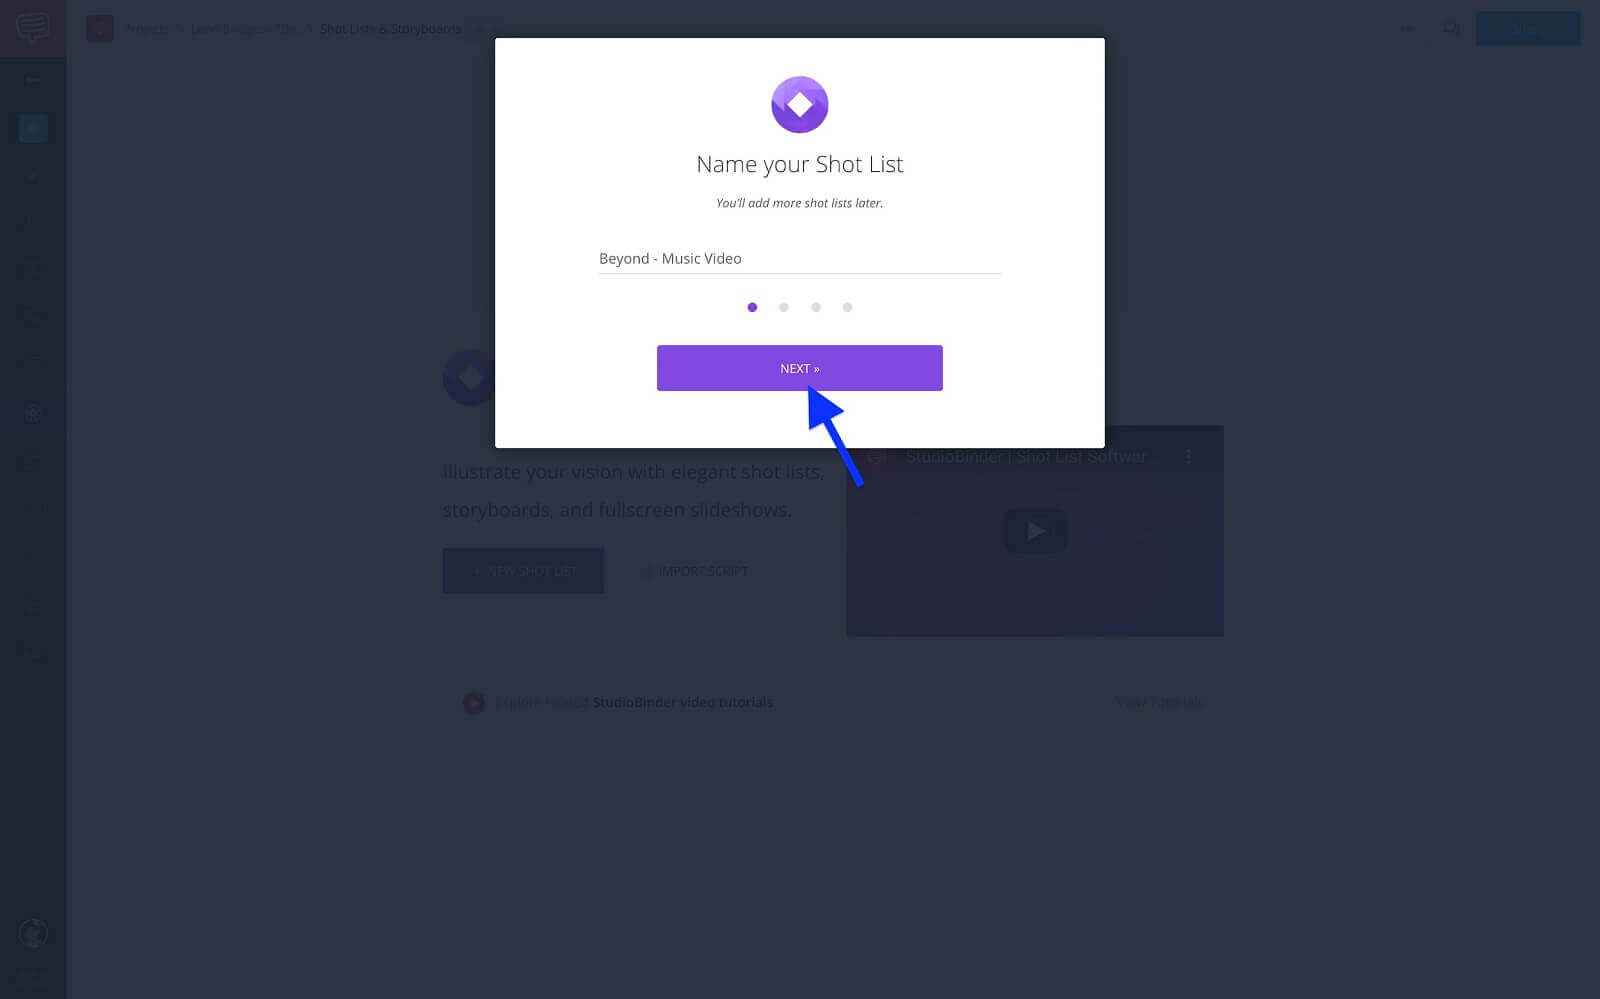
Name your shot list • Beyond - Music Video
You’re then prompted to select your preferred view. This modifies how you view the page and the information it contains. Any of the options chosen can always be modified later, so don’t worry about this too much.
I’m going with the shot list view, which only shows the shot details, to begin with since I’m only going to be plugging in information at the start, then I’ll click next...
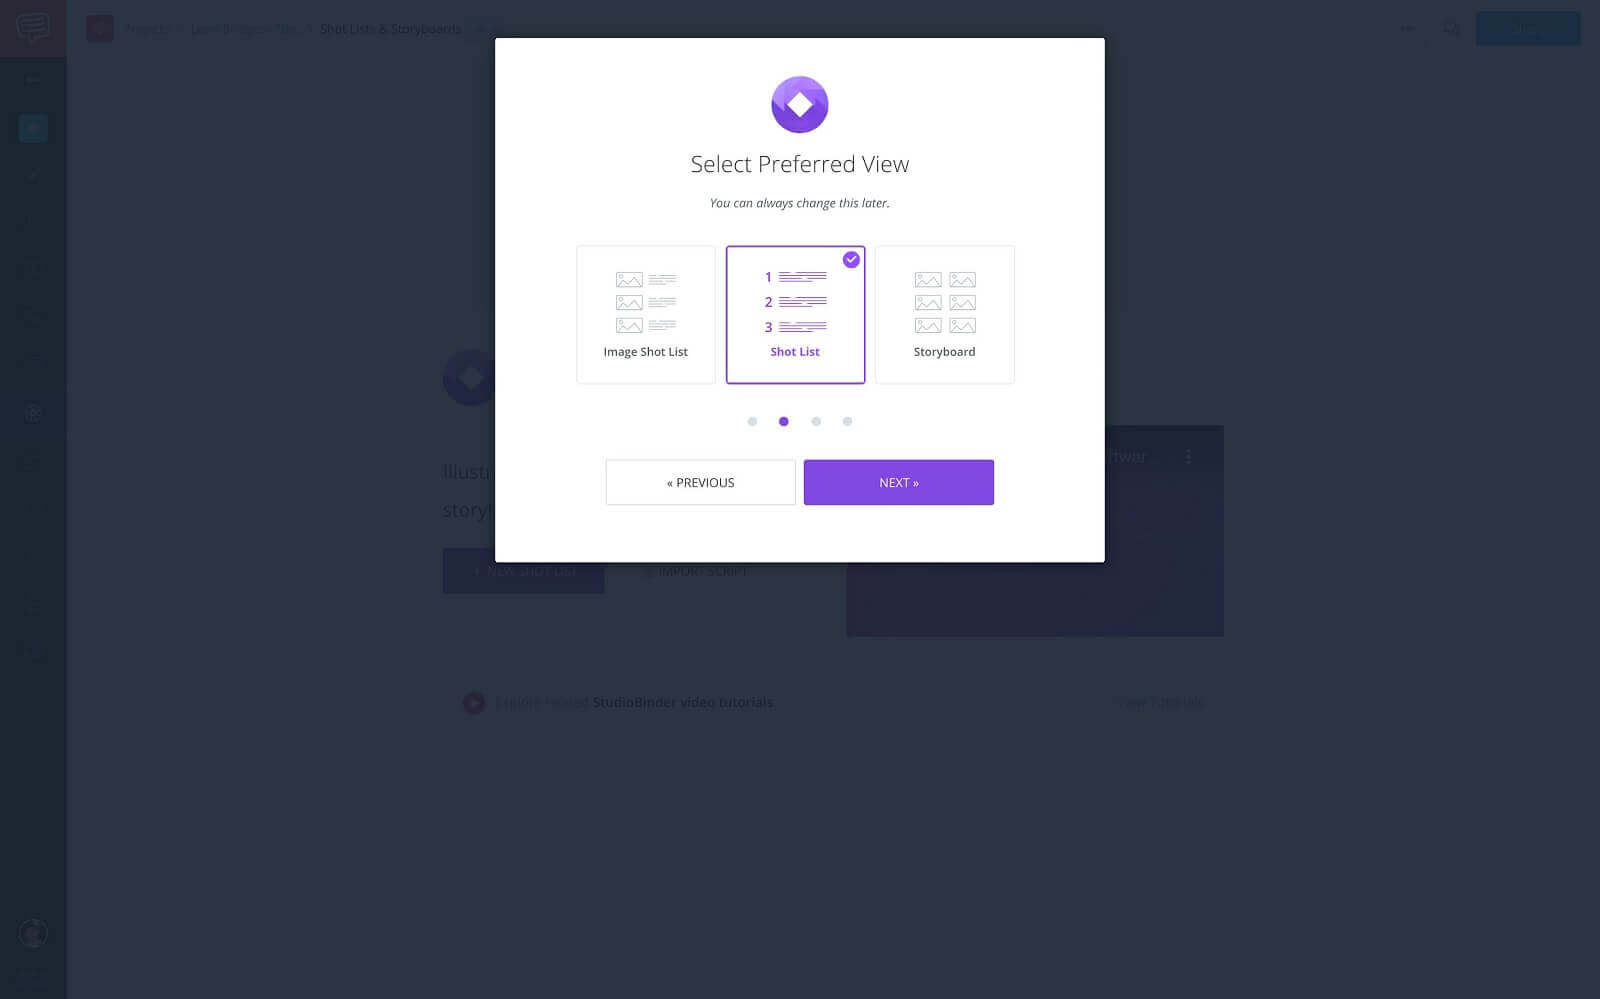
Select preferred view • Shot list
...now, you’ll be asked to select the aspect ratio of how the images you upload will appear in. Again, this can be changed so I’m going to leave it at 16:9 for now, then click next.
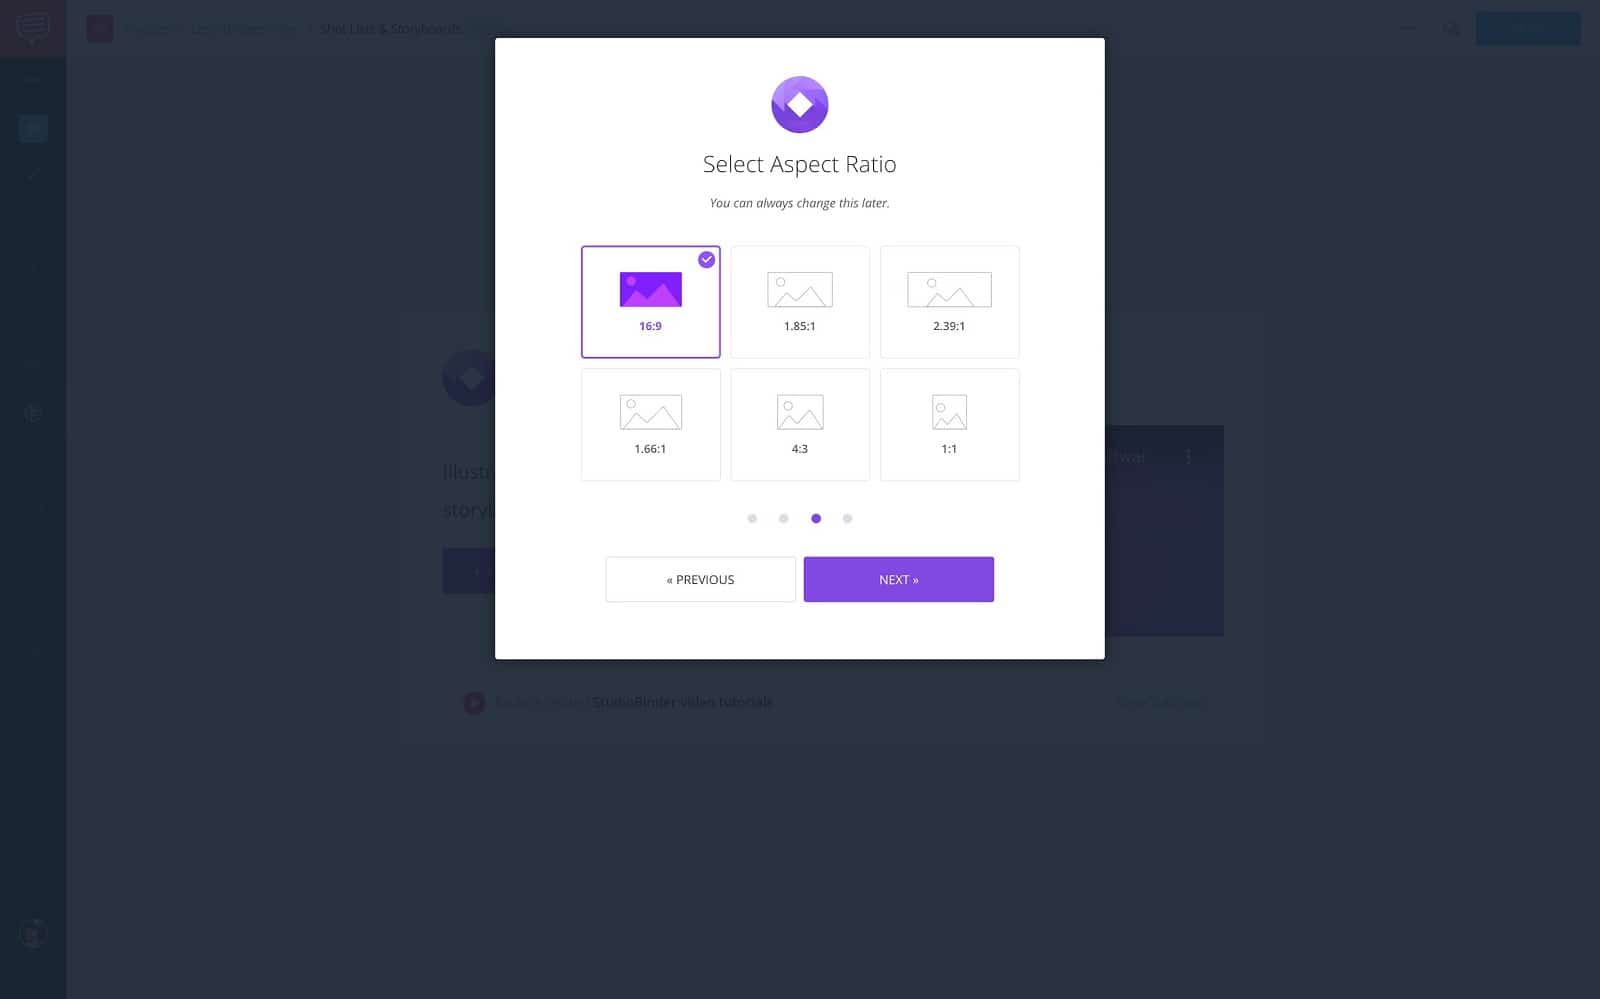
Select aspect ratio • 16:9
And lastly, you’re asked to adjust shot specs. This essentially hides or shows the different shot spec options. For this you would reference your music video script. From what I can see on the script that I created earlier, I’ve selected the following shot specs, then I’ll click Get Started.
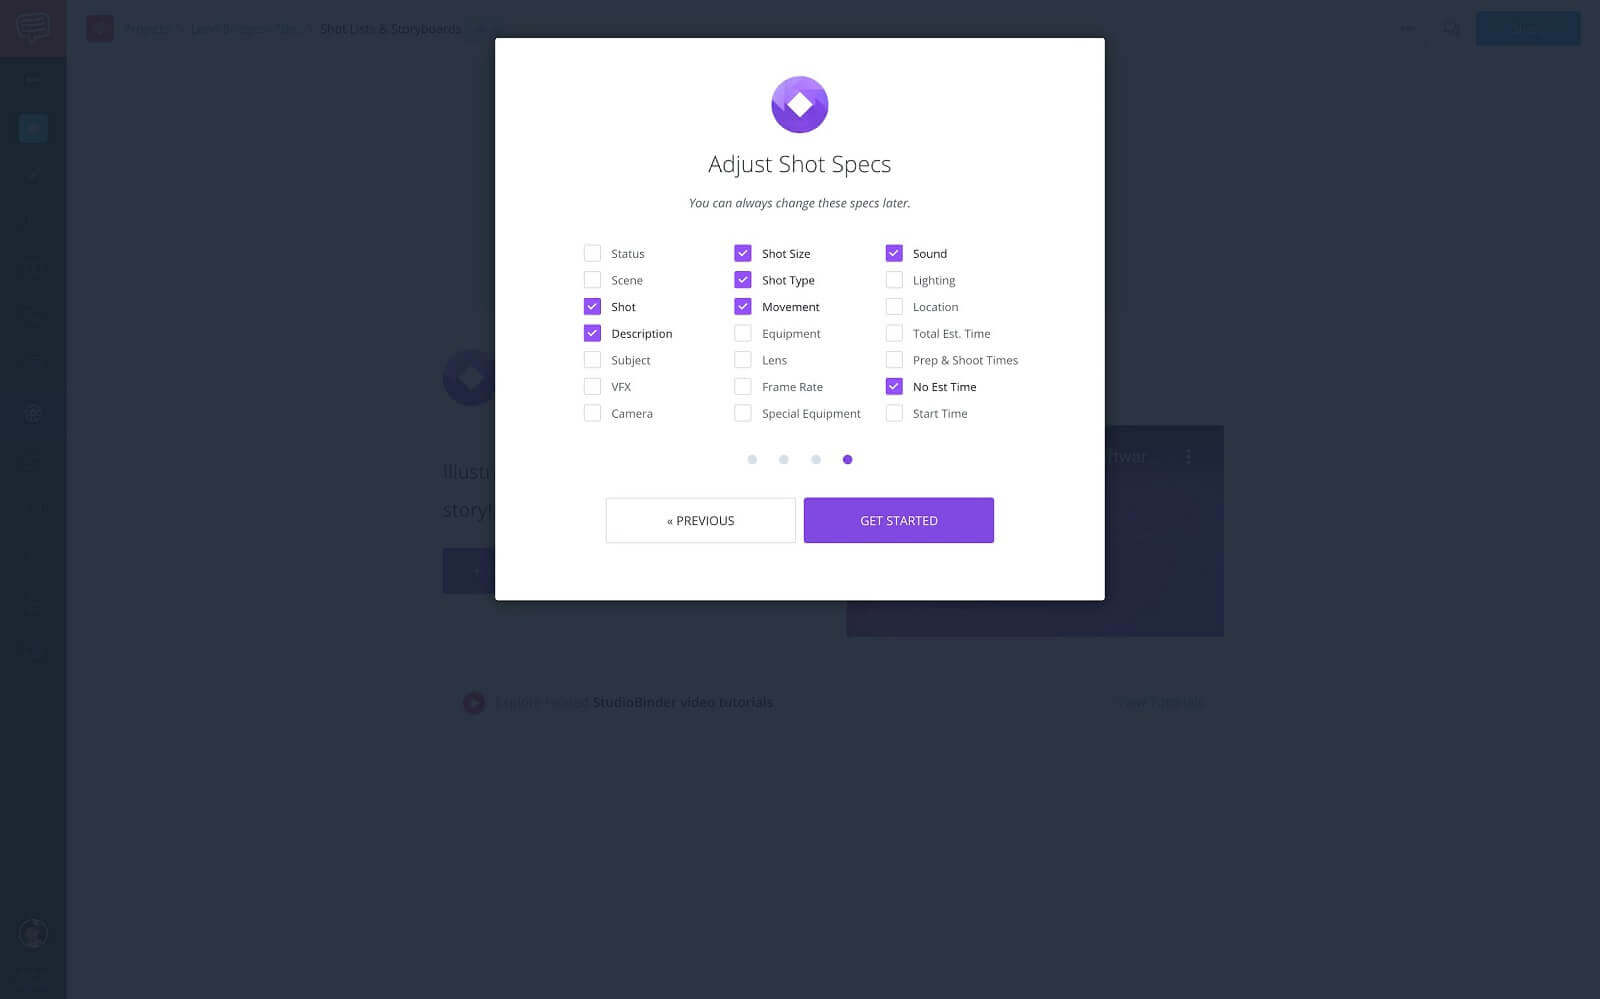
Adjust shot specs • Click Get Started
This will bring you to the new shot lists & storyboards page.
Ok, with the shot list ready, there’s one last thing you’ll want to modify. The shot numbering.
CUSTOM SHOT NUMBERS
Step 2: Select custom shot numbering
Timecodes or timestamps are essential when creating a music video storyboard because there’s a finite amount of seconds in a song. So, you need to make sure you know what is happening for every second of the video. This is where the custom numbering option comes in handy.
To modify this setting, click the numbering button on the toolbar...
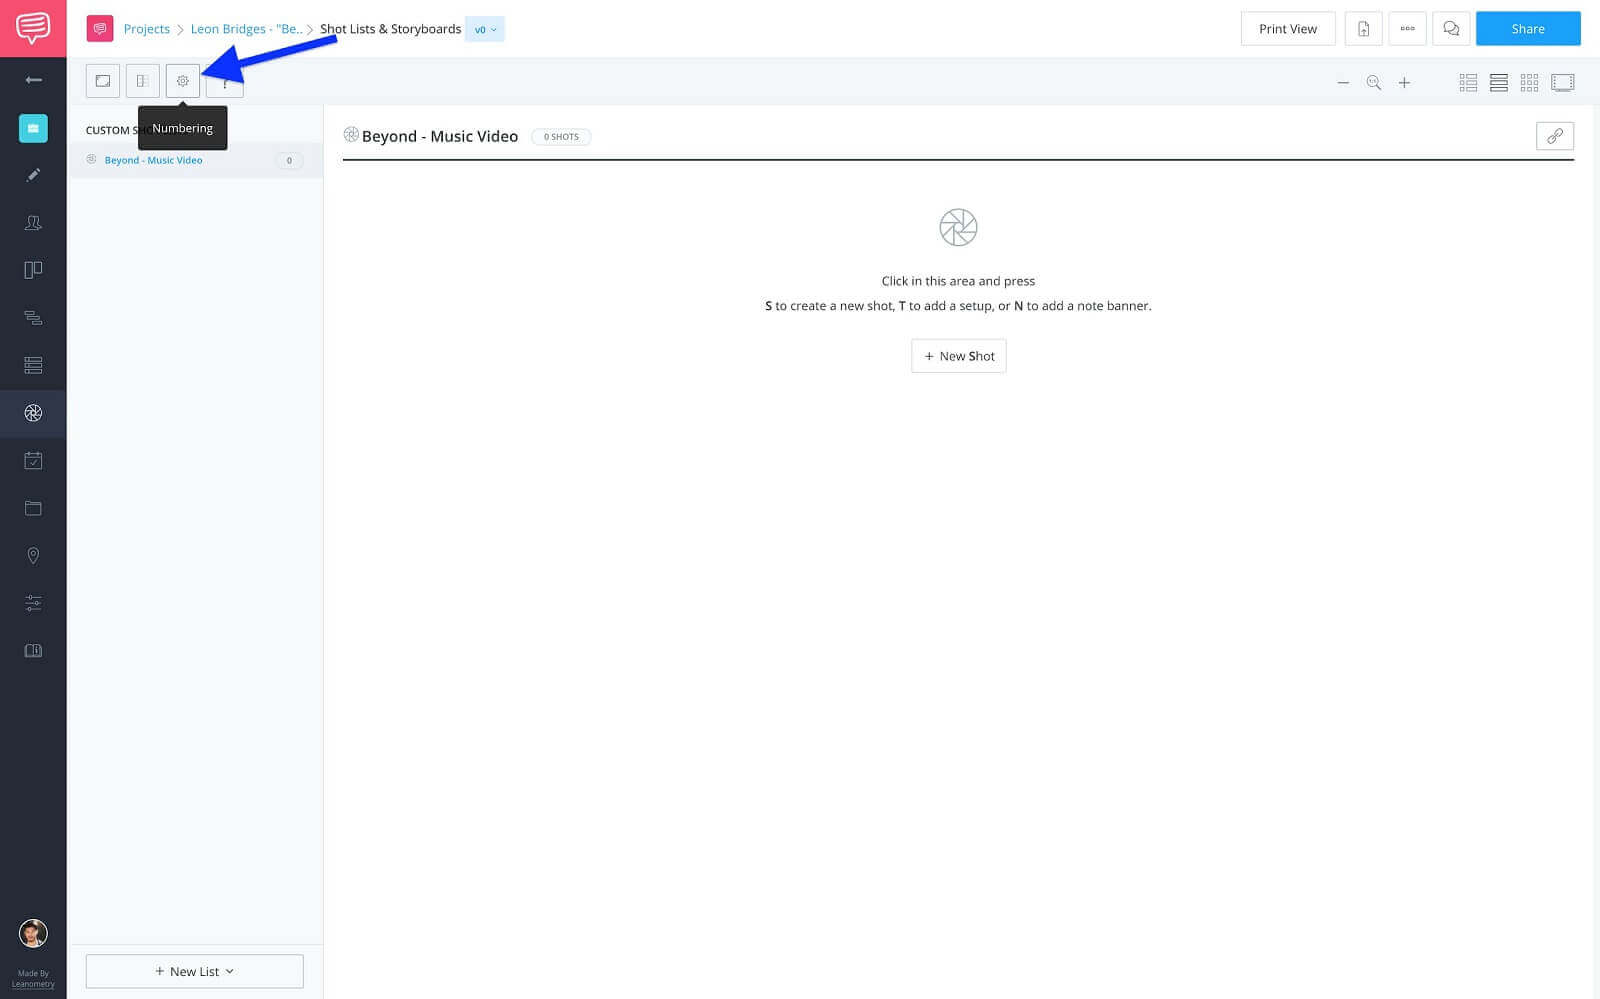
Shot lists & storyboards toolbar • Click numbering button
...then, select the custom option.
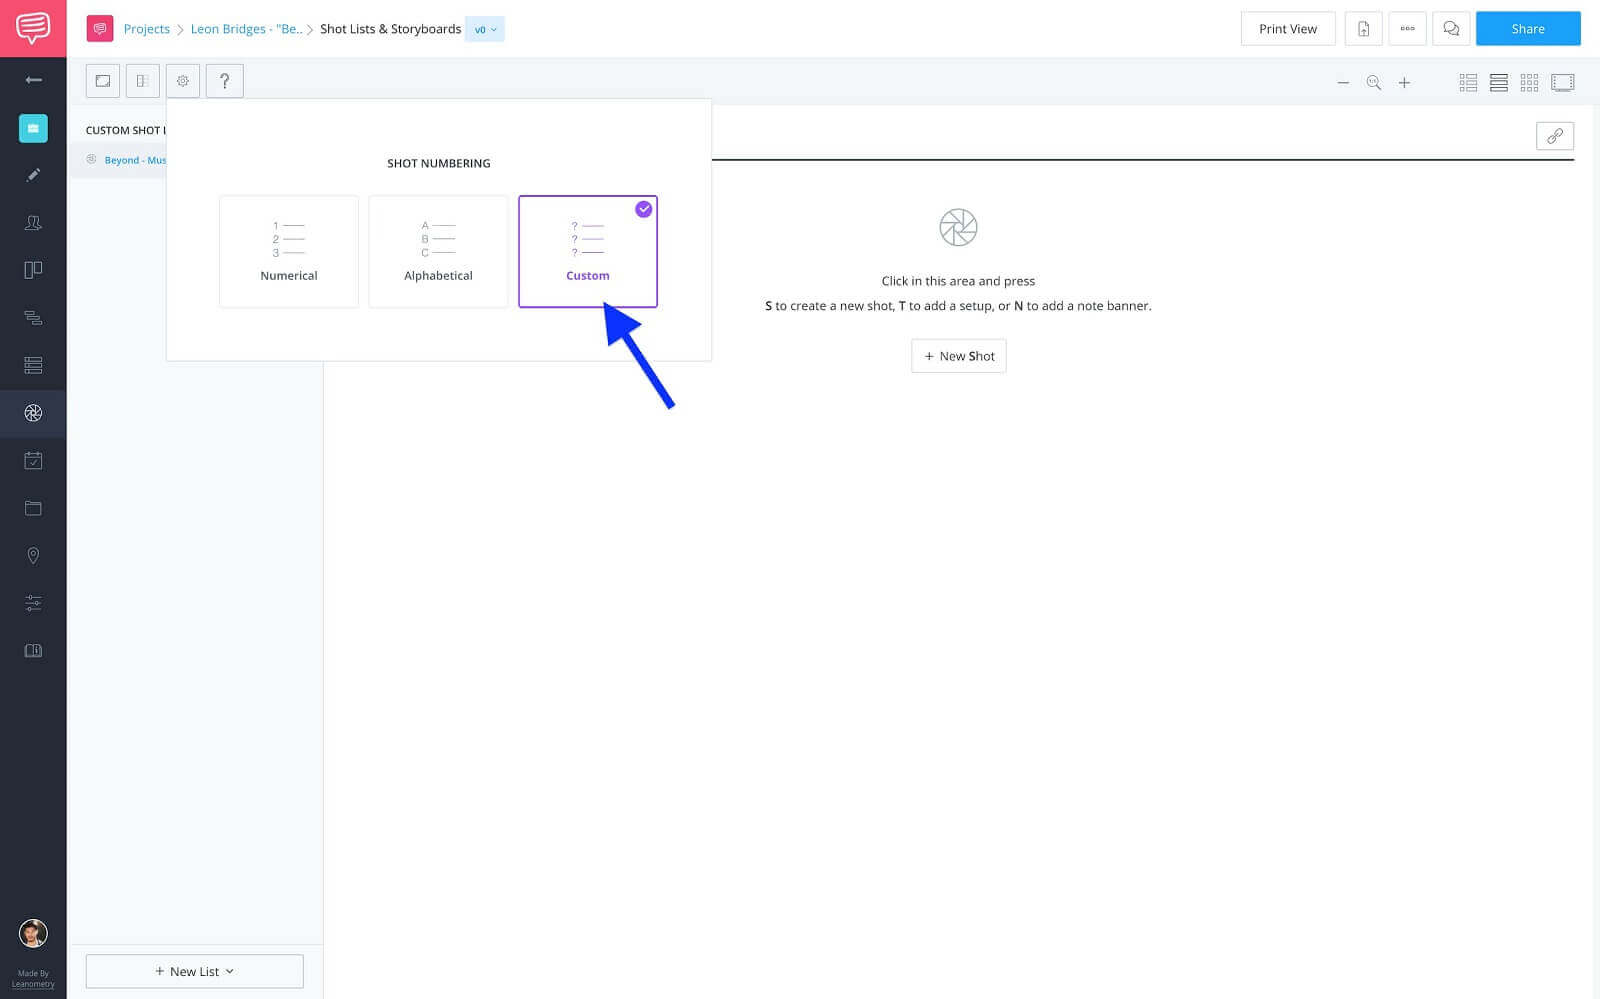
Shot numbering • Select custom
This is going to allow you to input the timecode as the shot number, so you can easily see what image and shot information is associated with it. It’ll make a bit more sense once you see it. So, speaking of, it’s time to start adding shots.
Shot Specs
Step 3: Add shots and details
Now, the specs or columns that you have shown might vary from what I have selected for mine. That’s ok. Every project is different. To find the information that you’ll plug in, just look at your music video script.
To add a new shot, click +New Shot.
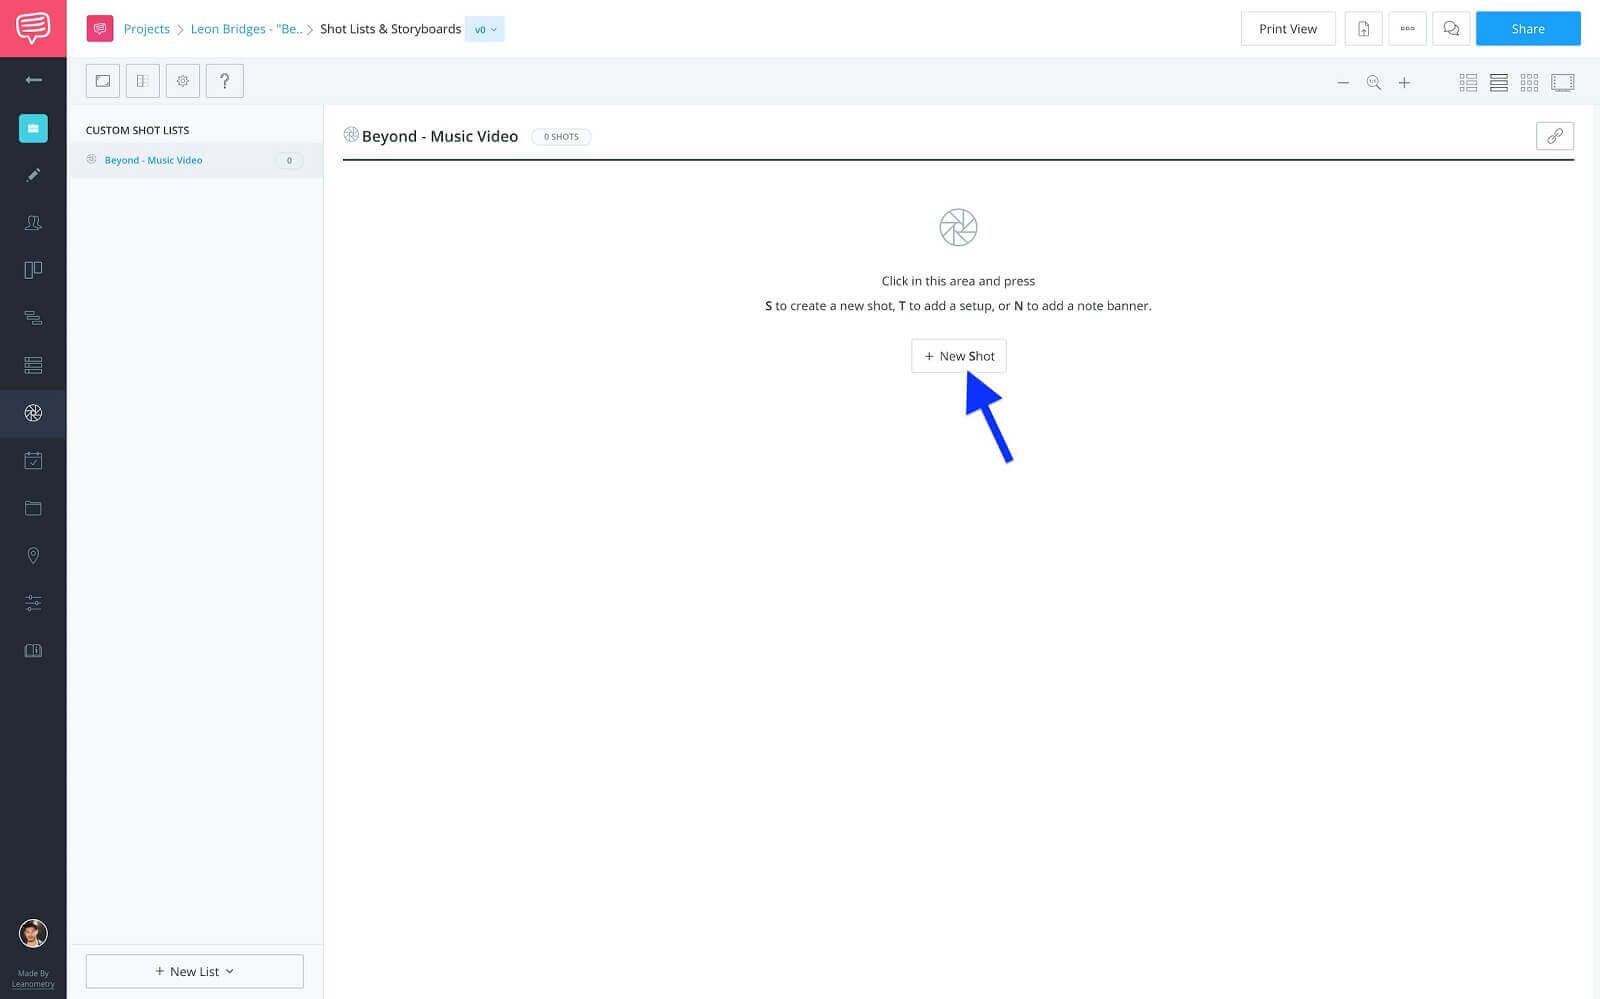
Shot lists & storyboards page • Click +New Shot
Then plug in the information from the music video script.
For example, if I look at the first timecode on my script…
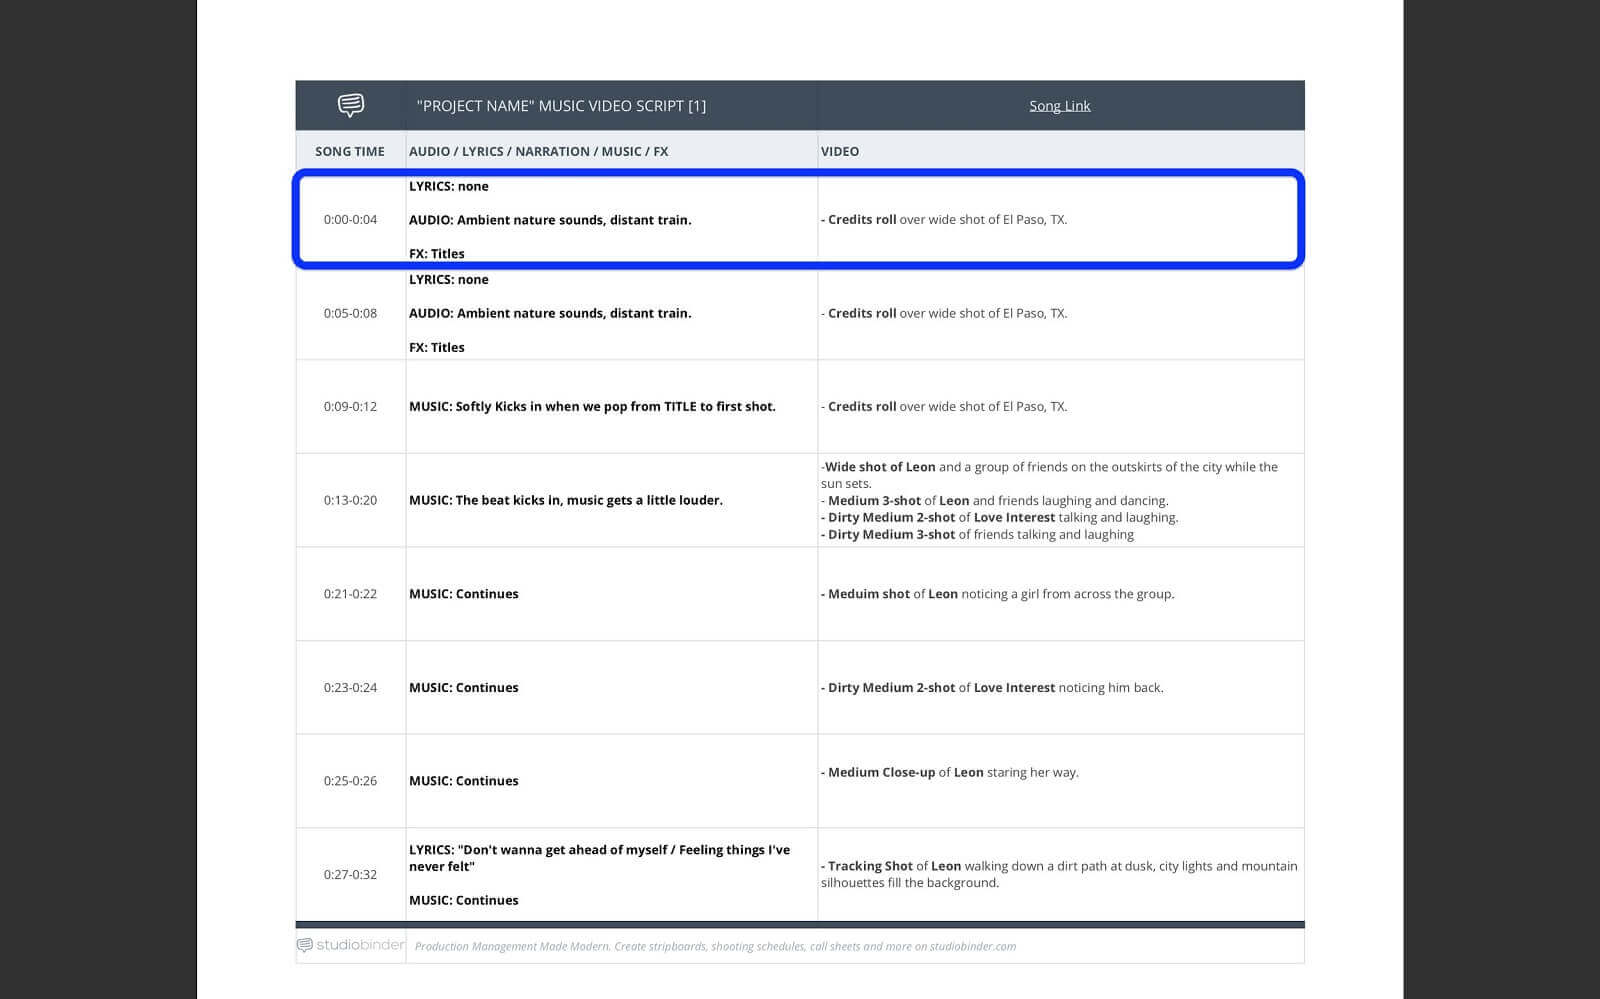
Music video script • First timecode
...I can add the Audio to the Sound spec, the Video to the Description spec, and the FX to the VFX spec. I can even set the shot size and angle.
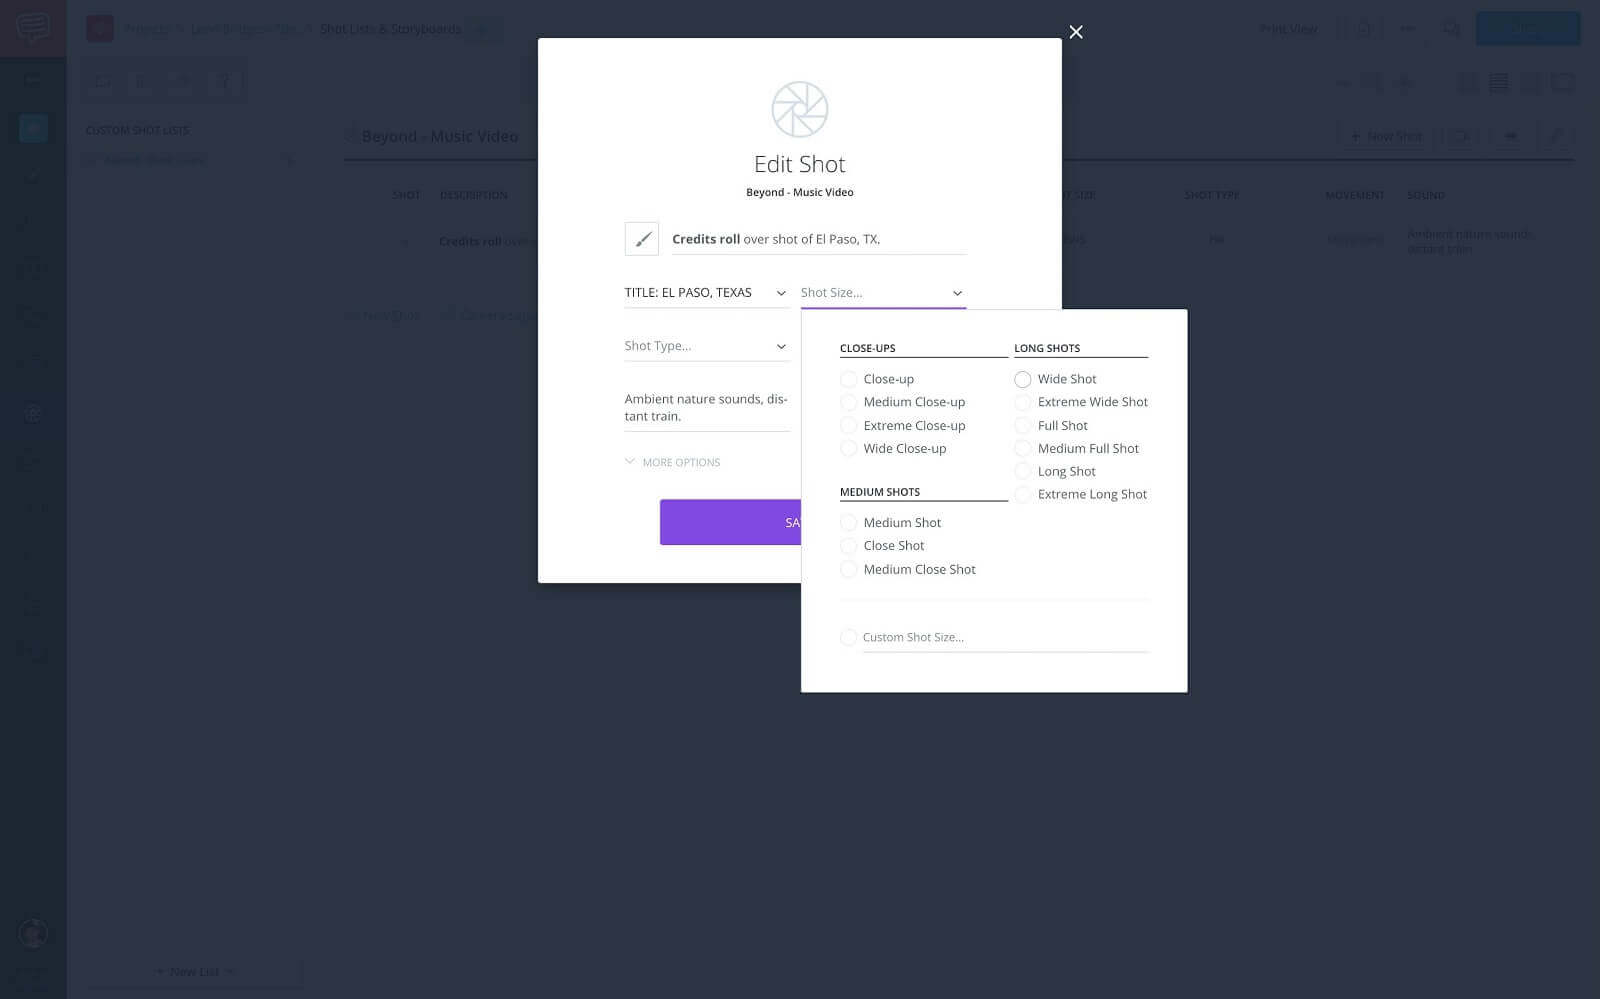
Edit shot • Add shot specs
...then, once I’m done adding the information click Save & Close.
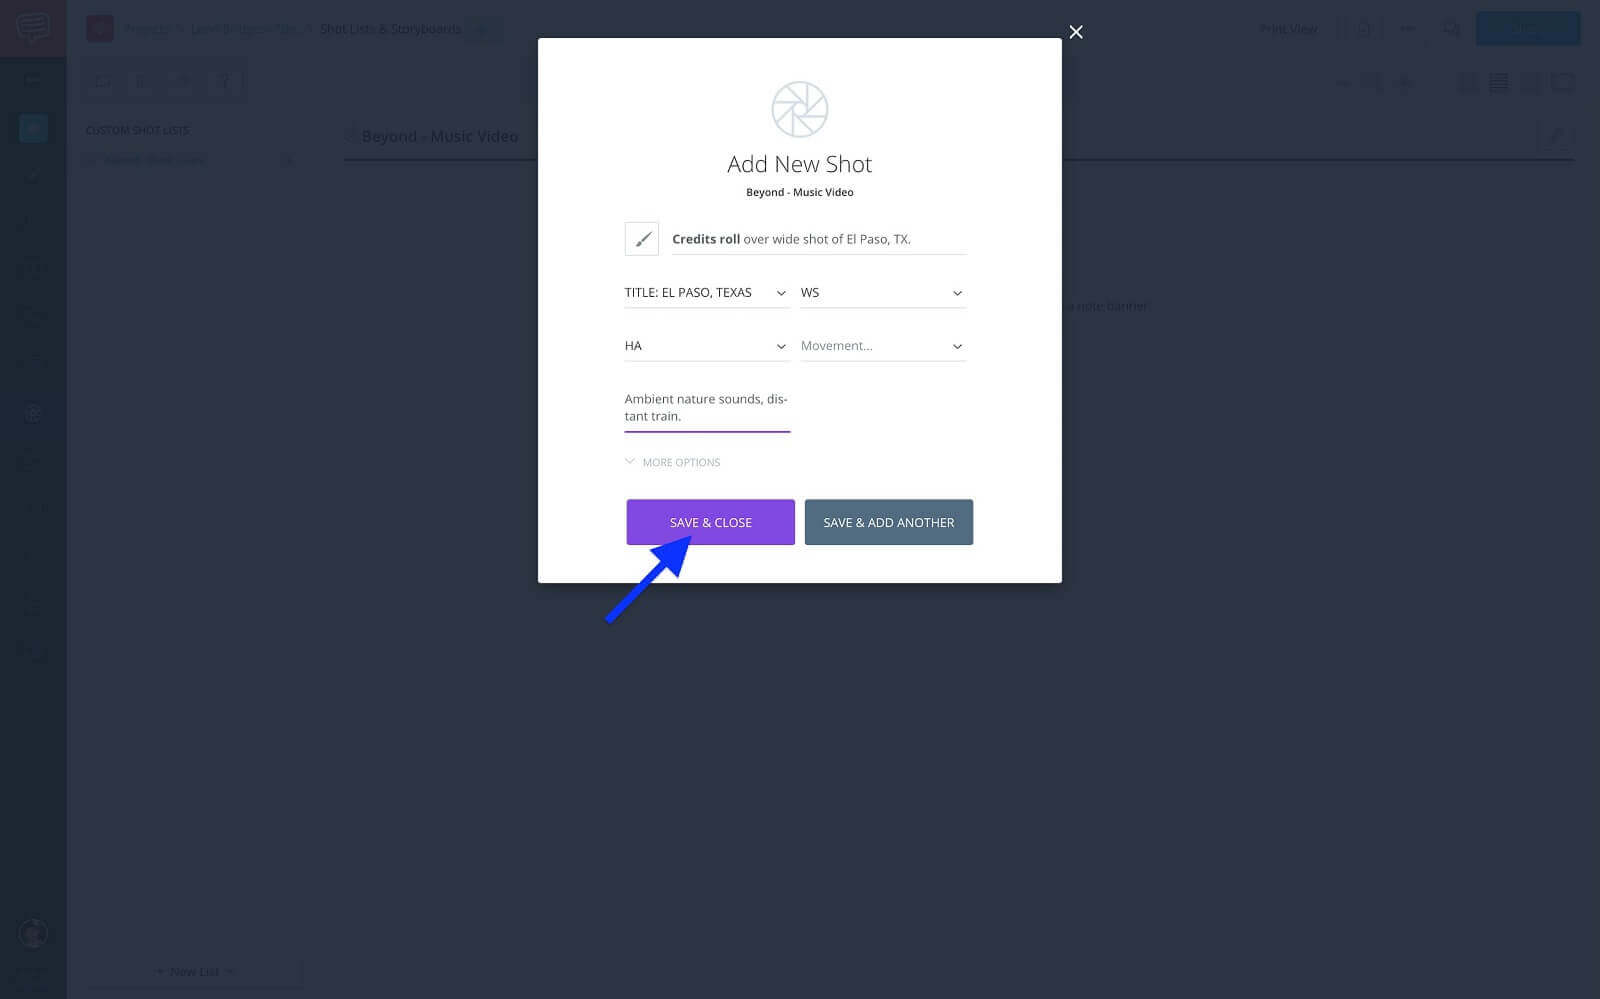
Storyboard frames • One frame per row
Now, you can click to assign the shot number, which is going to be the timecode from the music video script.
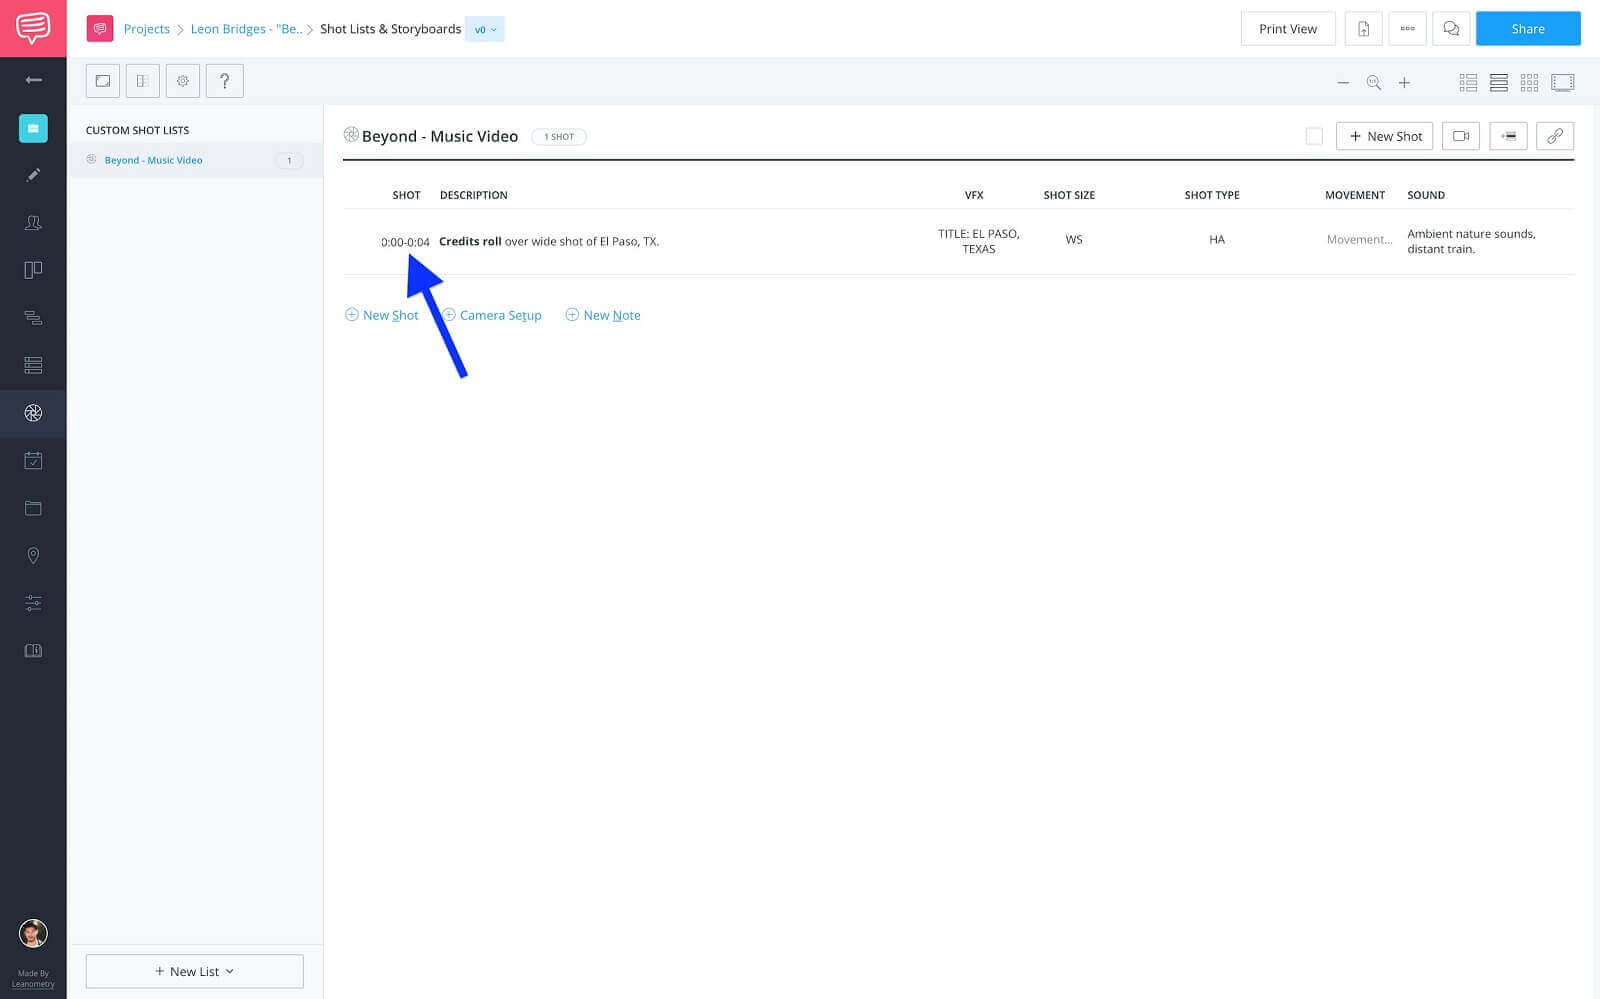
Shot number • Timecode
You would then continue this process for each timecode on your script. I’ve filled in the rest from mine, notice that I’ve broken out each shot from the timecode 0:13-0:20 into their own individual shots.
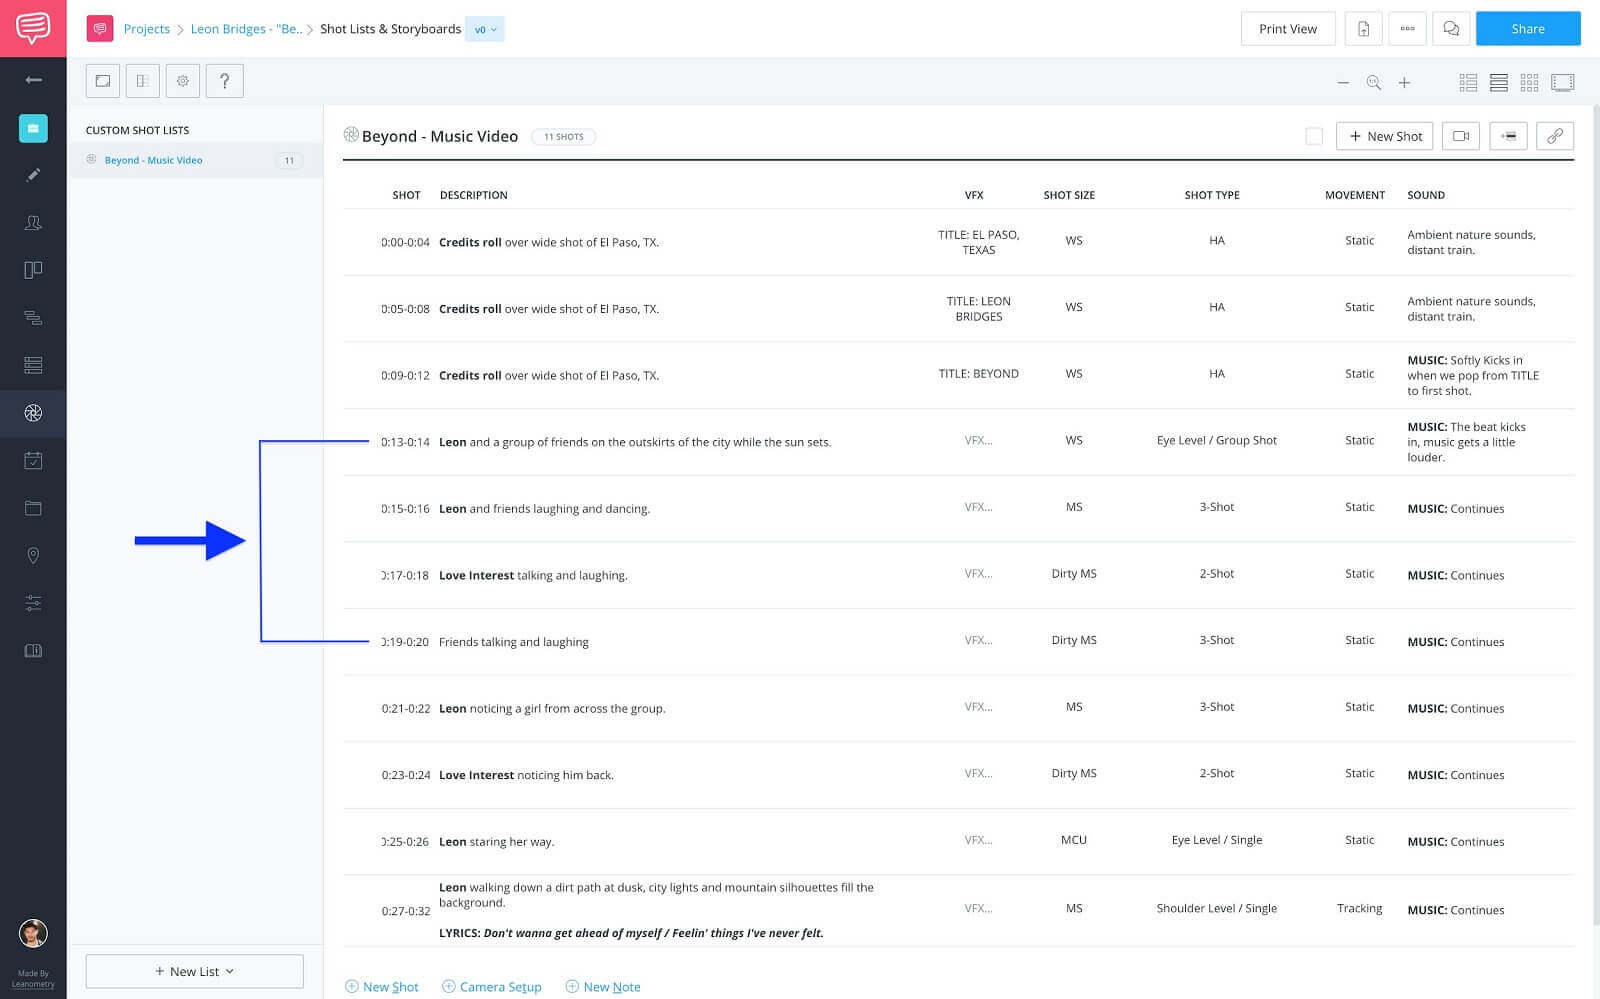
Fully populated shot list • Individual shots
This will allow you to add an image for each individual action being done. Which leads us to the next step.
Storyboard Images
Step 4: Add reference images
This is what we’ve been leading up to. Thus far we’ve only added the same information, maybe a bit more detailed in some cases, but essentially the same information. Now, we get to add images to support what the descriptions say.
Luckily, for me I can use the actual frames from the video, but this is where you could hire a storyboard artist. For reference, you can use these storyboard examples. You could also find temp images by searching Google.
Before we start adding images, I like to switch my layout to the Storyboard view. This gives the images a bit more love.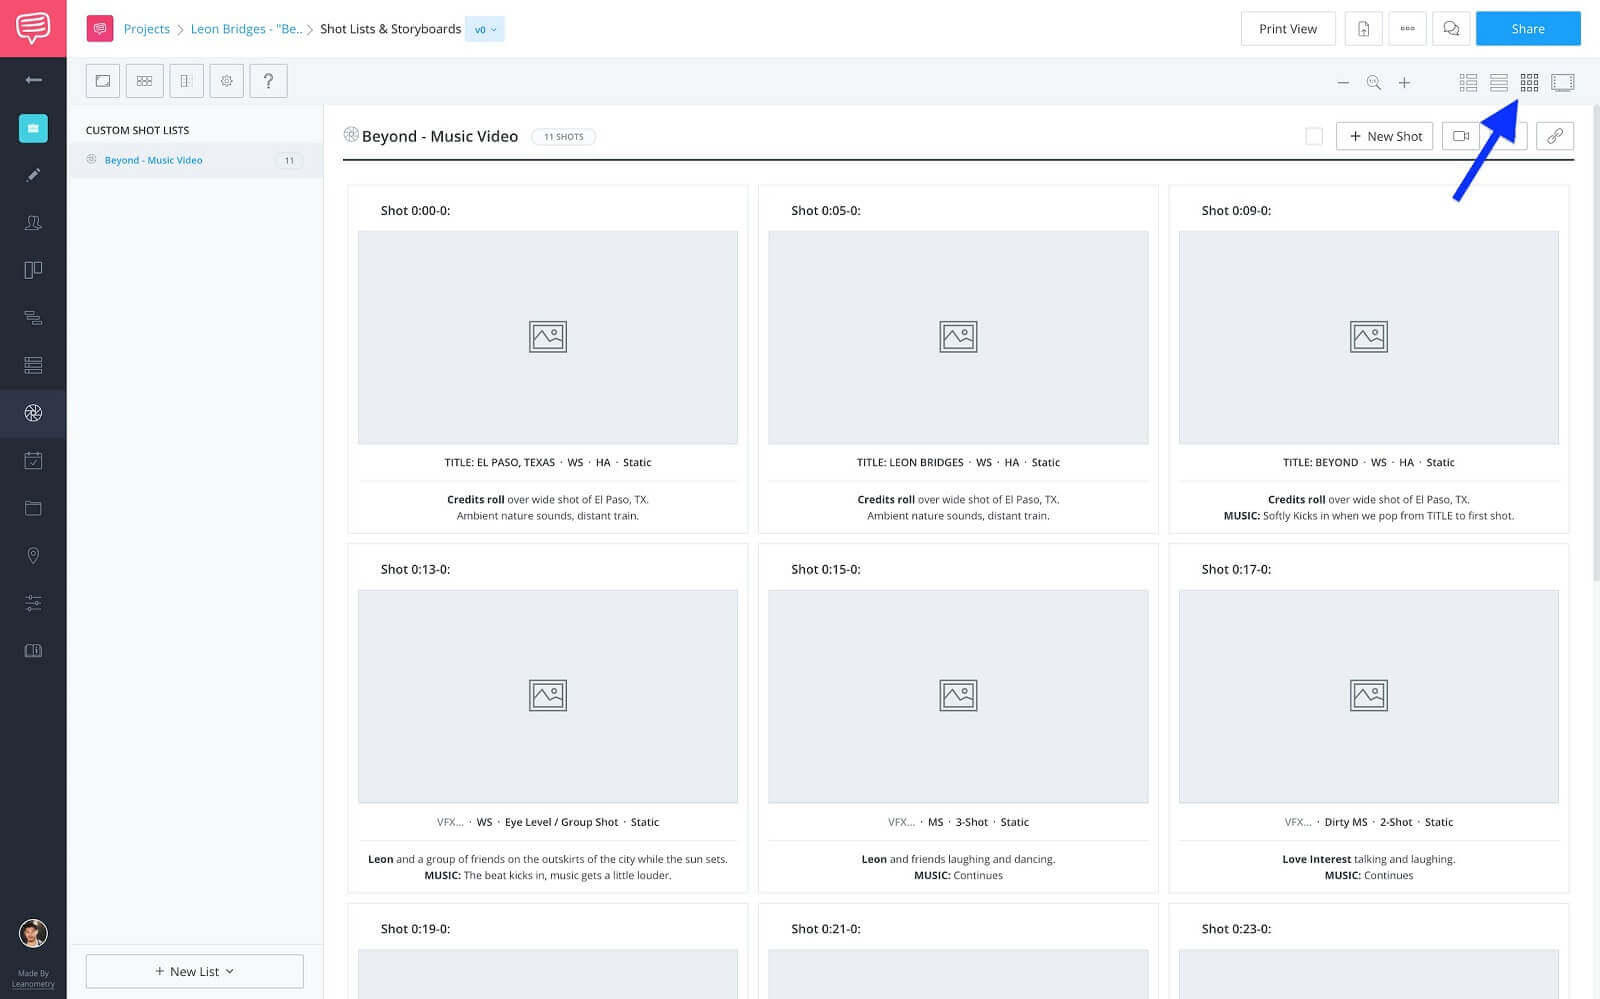
Shot lists & storyboards toolbar • Storyboard button
Now, to add an image, click the image box on the first shot.
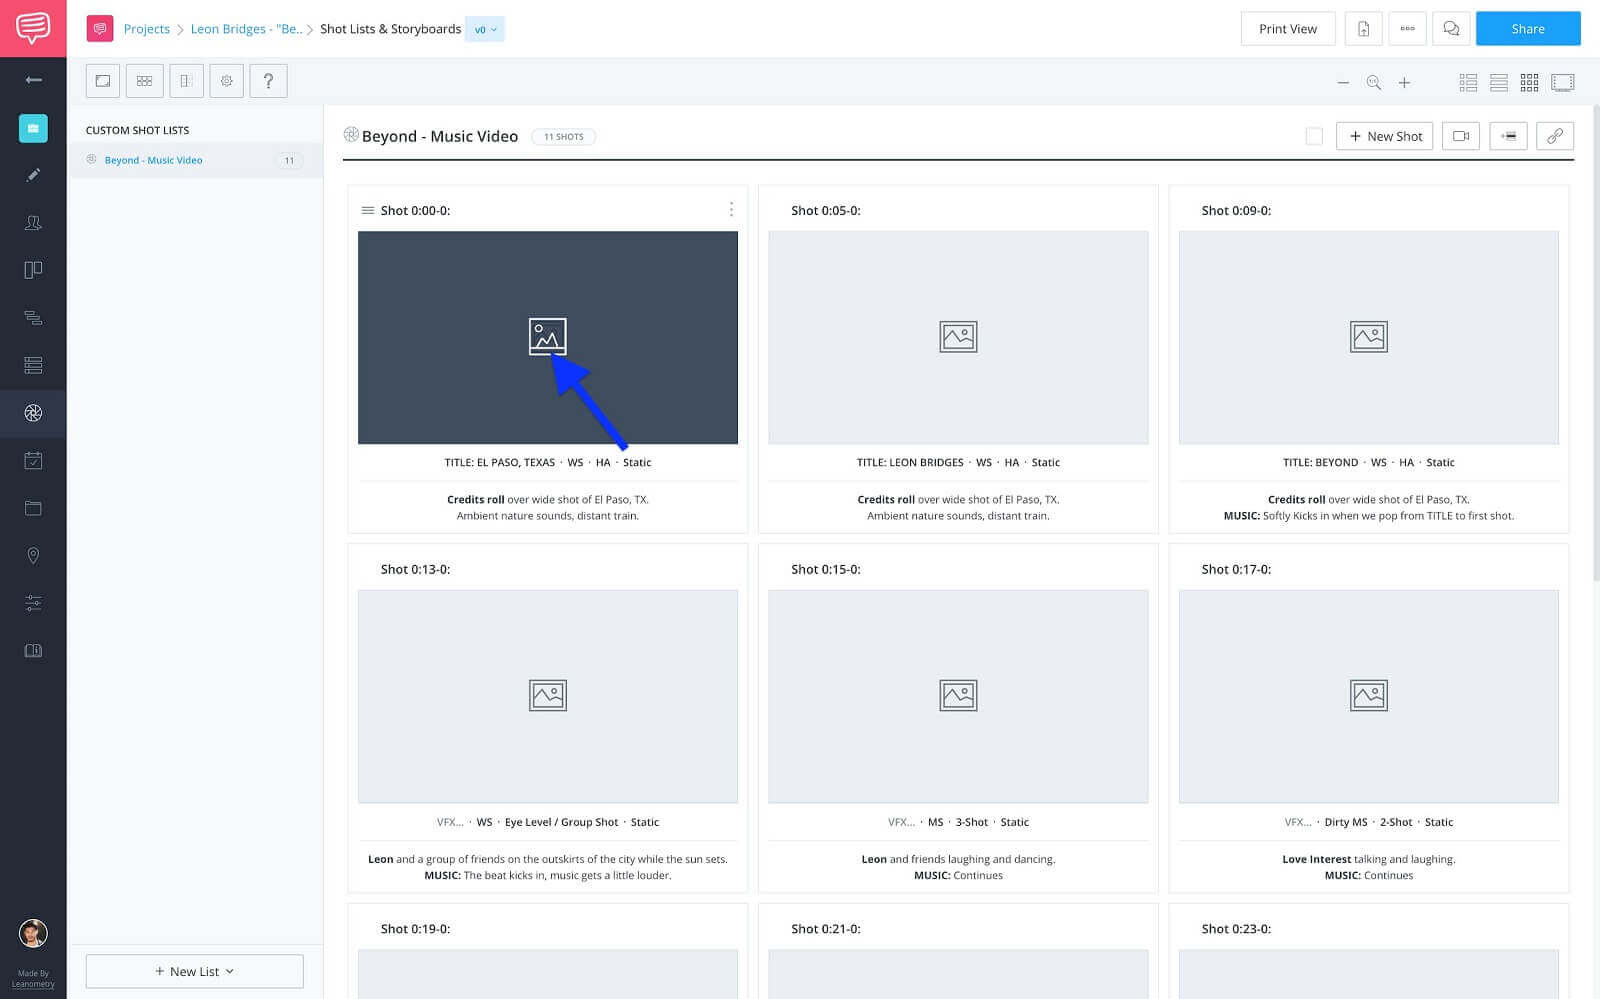
Upload image • Click image box
Find the image file on your computer and click open...
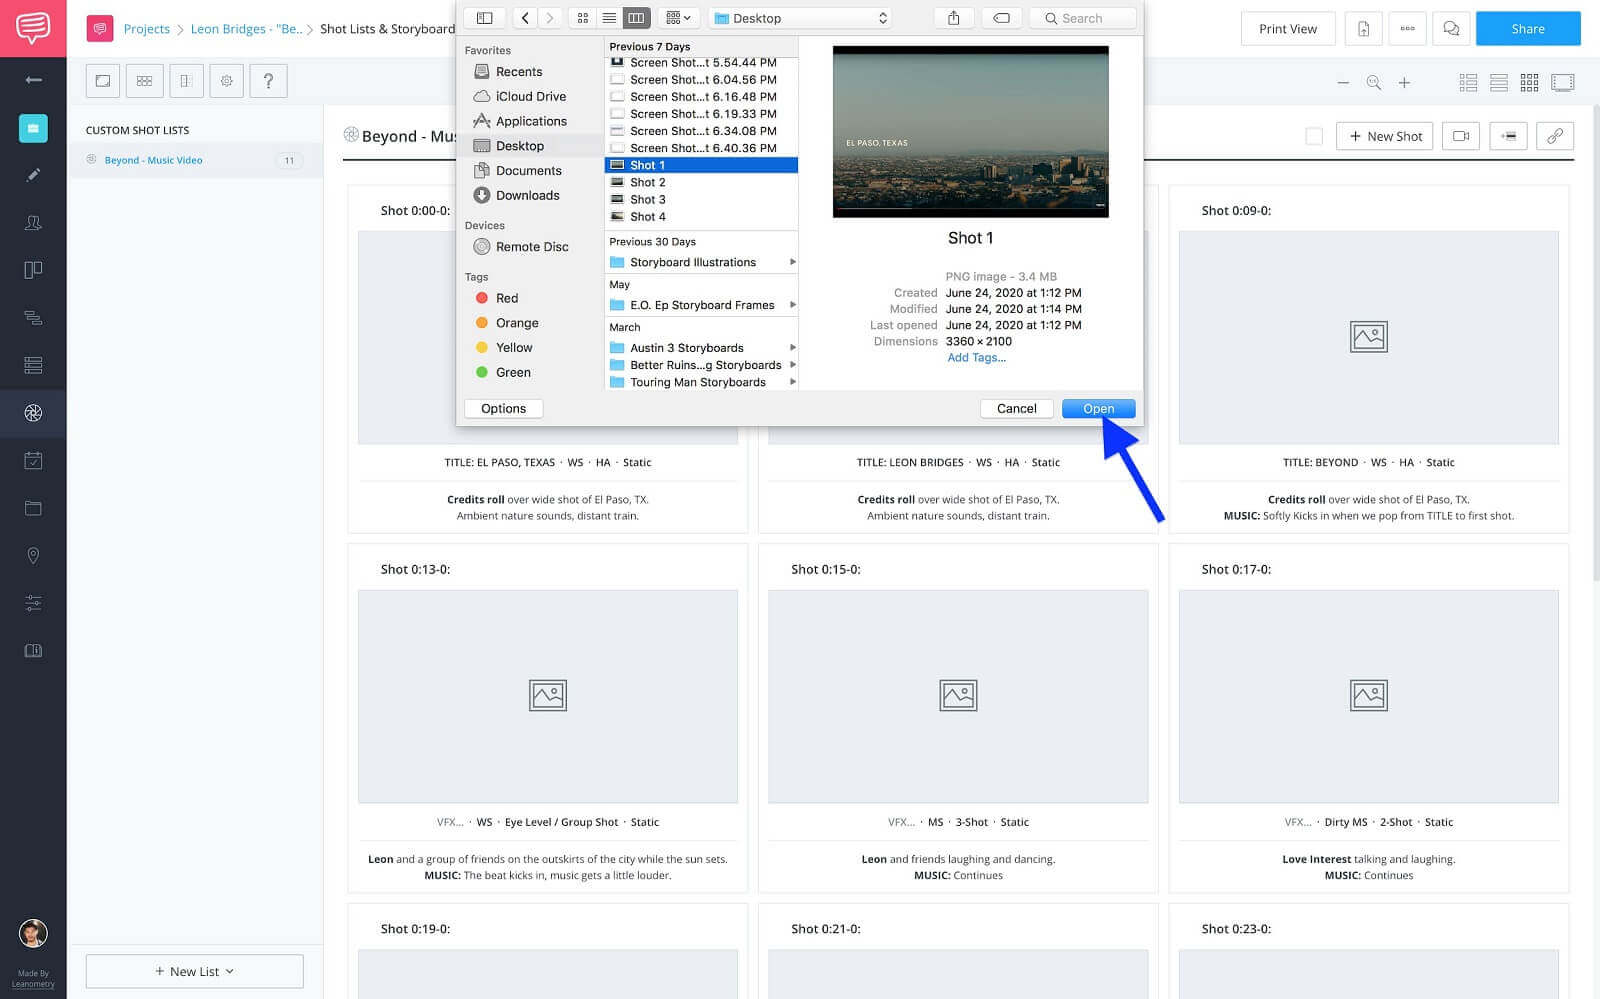
Find image file • Click open
...then, click apply.
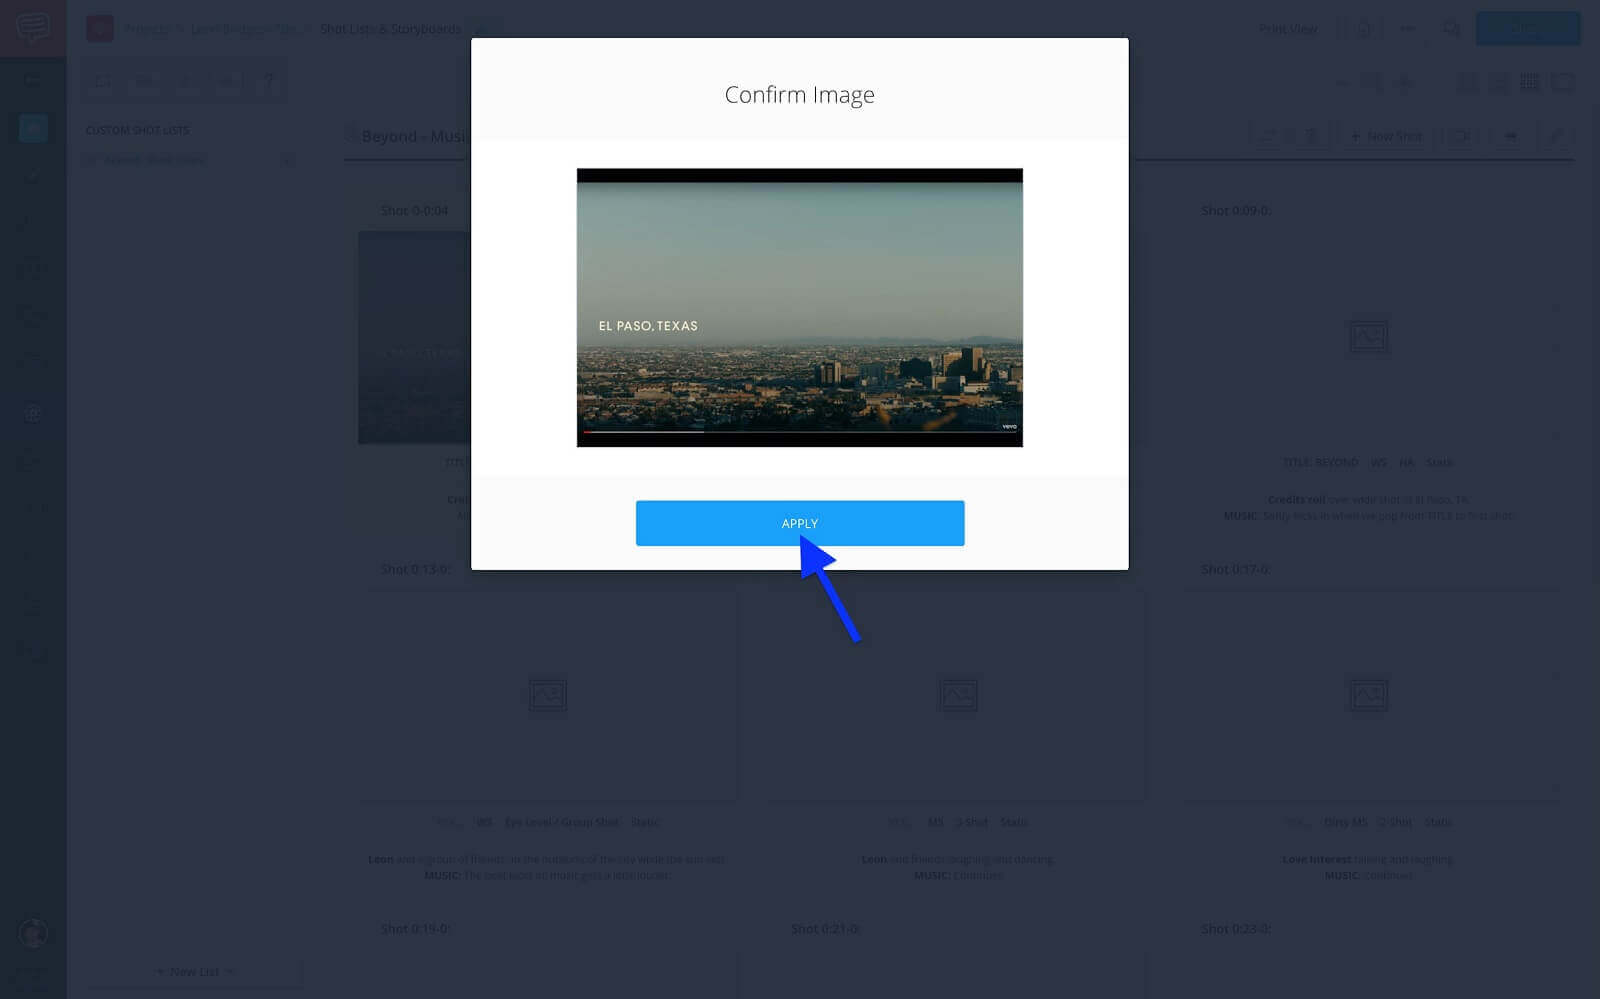
Confirm image • Click apply
You’ll repeat this process until all of the frames have images in them. I’ve gone ahead and added the rest to mine as you can see below.
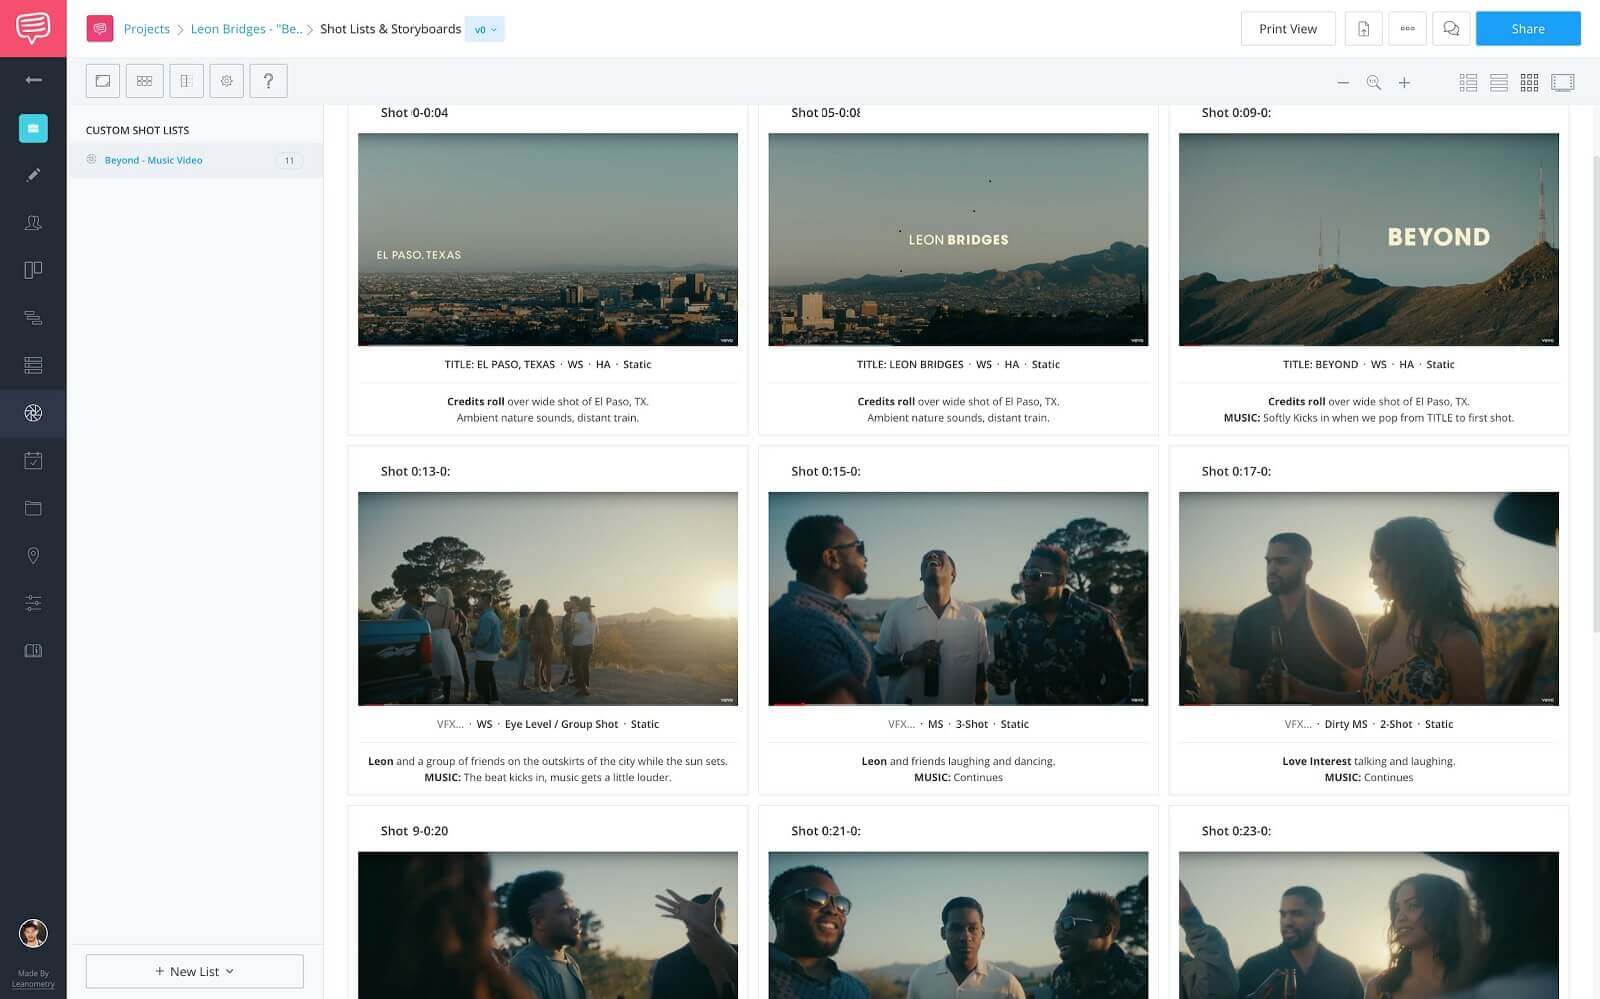
Storyboard view • Populated images
Now, if you click the frames button on the toolbar and select one frame per row...
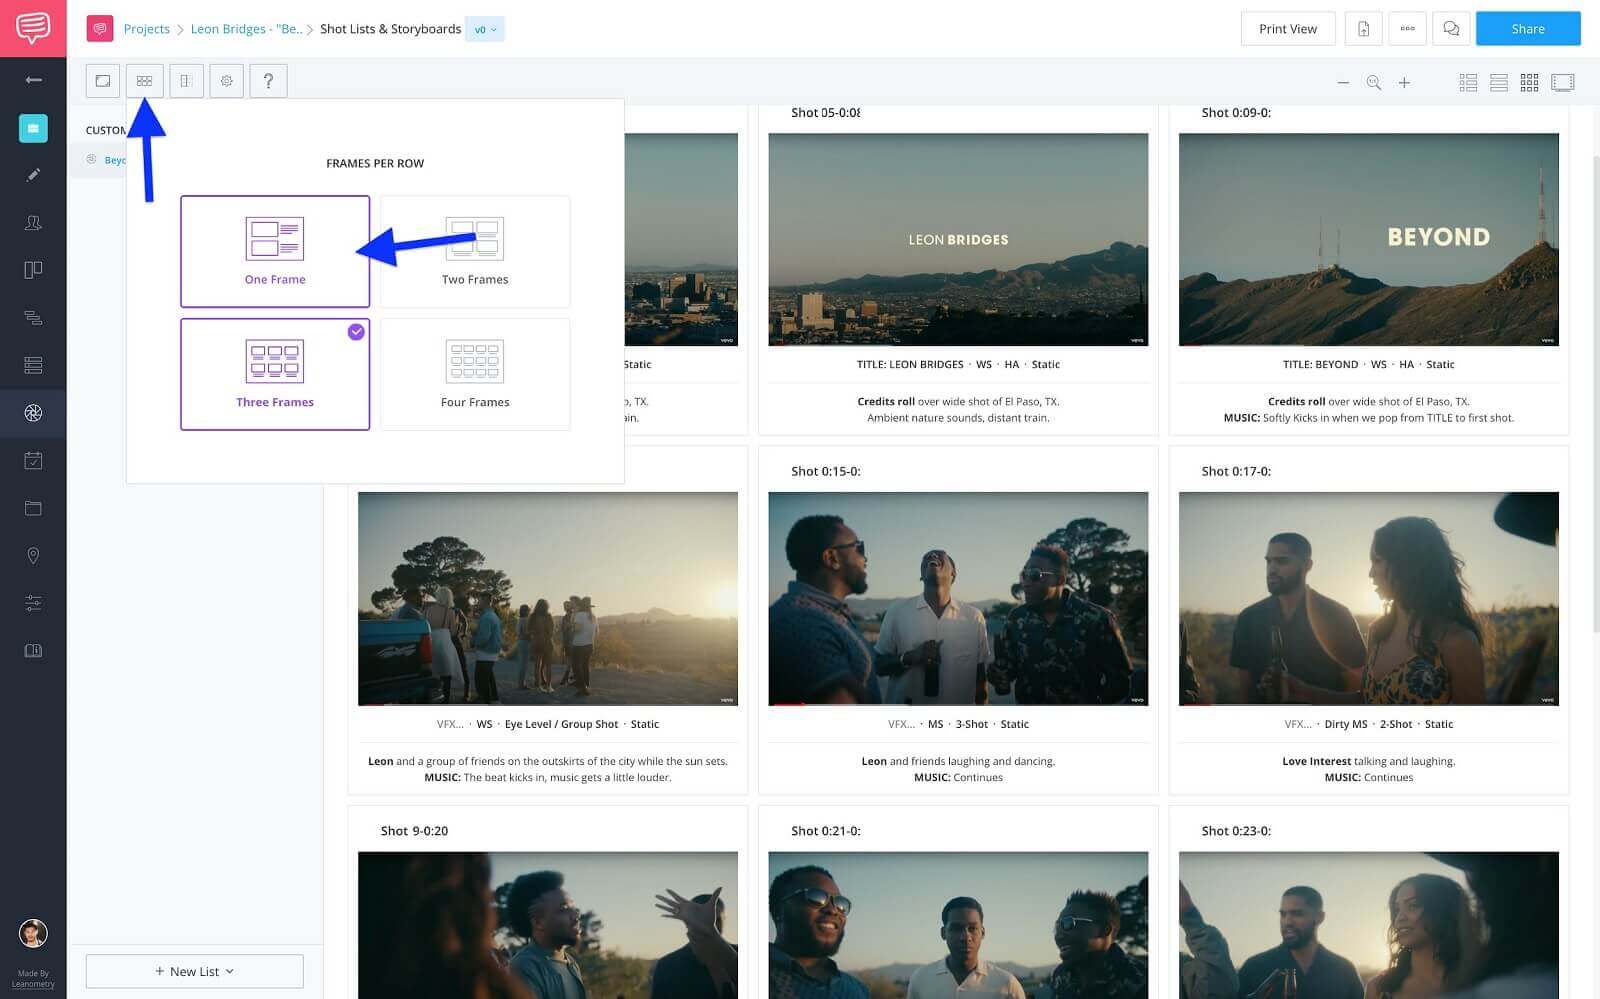
Toolbar: frames button • Select one frame
...you have what looks almost exactly like an AV script.
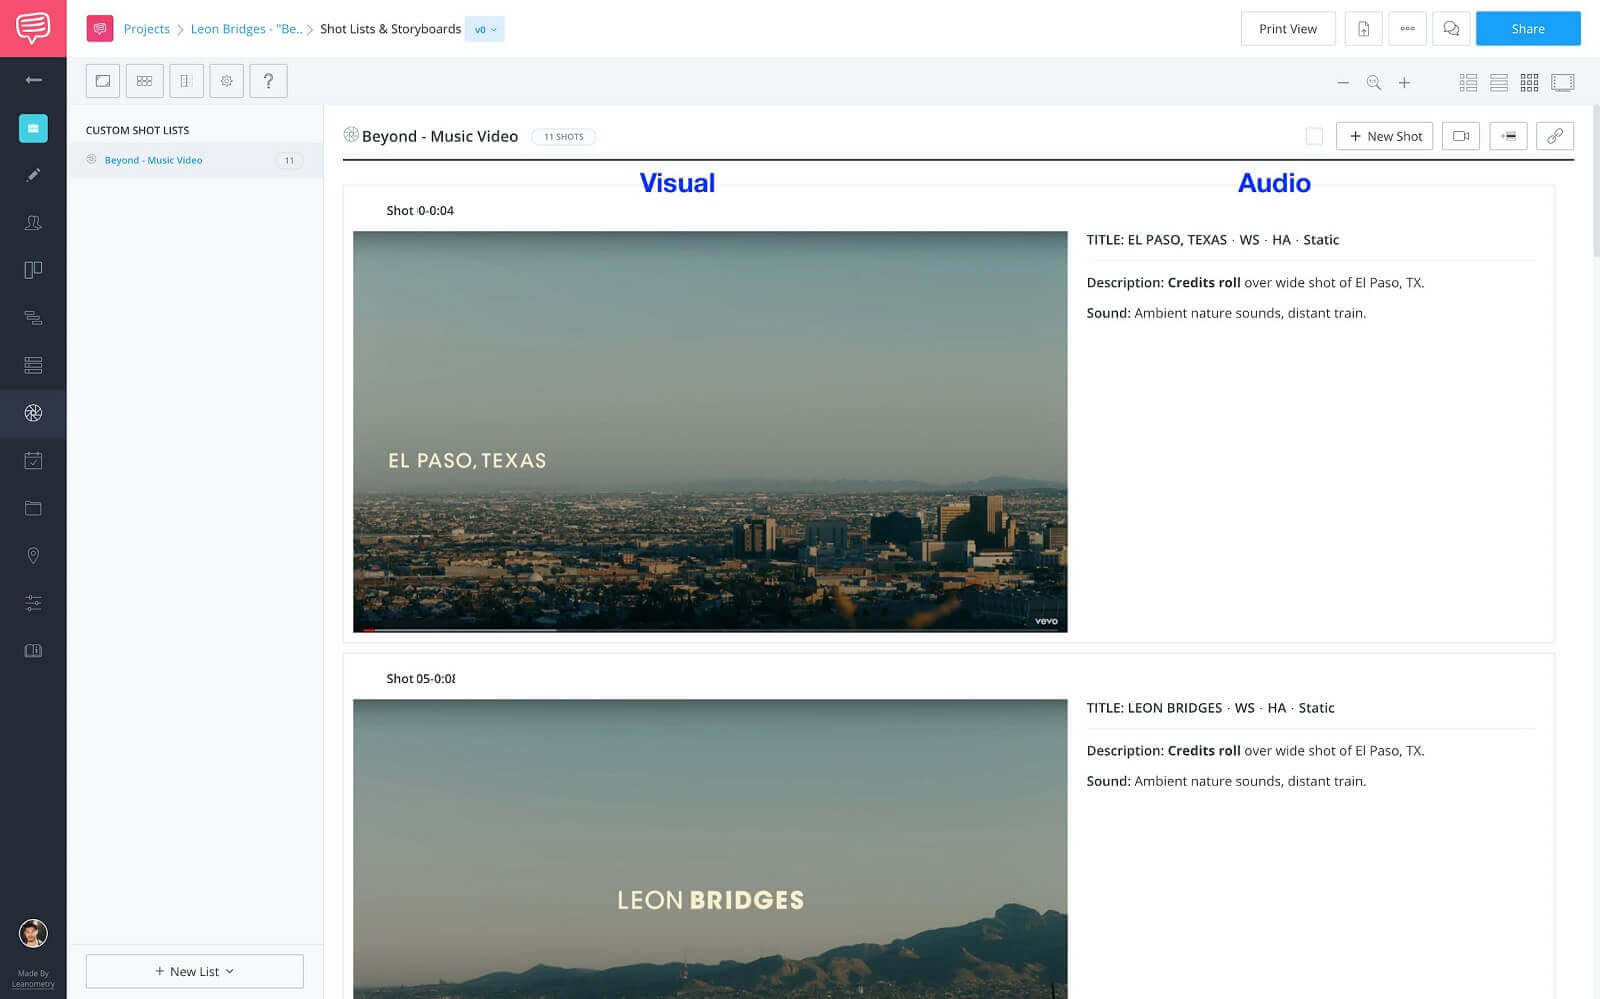
Storyboard view • One frame per row
Now, I’m not saying this is going to be the new way to write music video scripts, but wouldn't it be. You accomplish everything you need from a typical AV or music video script and then some.
From here, you could opt to share a view-only link with your colleagues or even download the list as a PDF to send in an email.
So, get out there and keep bringing those lyrics to life. Cheers.
UP NEXT
Create a storyboard
If you’re a StudioBinder user already log in to your account and put what you’ve just learned to practice, if you’re not, what are you waiting for?!? It’s free to get started. How do you pre-visualize your projects? Let us know in the comments!
Up Next: Ultimate Storyboard Creator →
Showcase your vision with elegant shot lists and storyboards.
Create robust and customizable shot lists. Upload images to make storyboards and slideshows.
